Creating Text Boards
SEAT NEEDED: Trial, Economy, Business, Cockpit
Open Boards
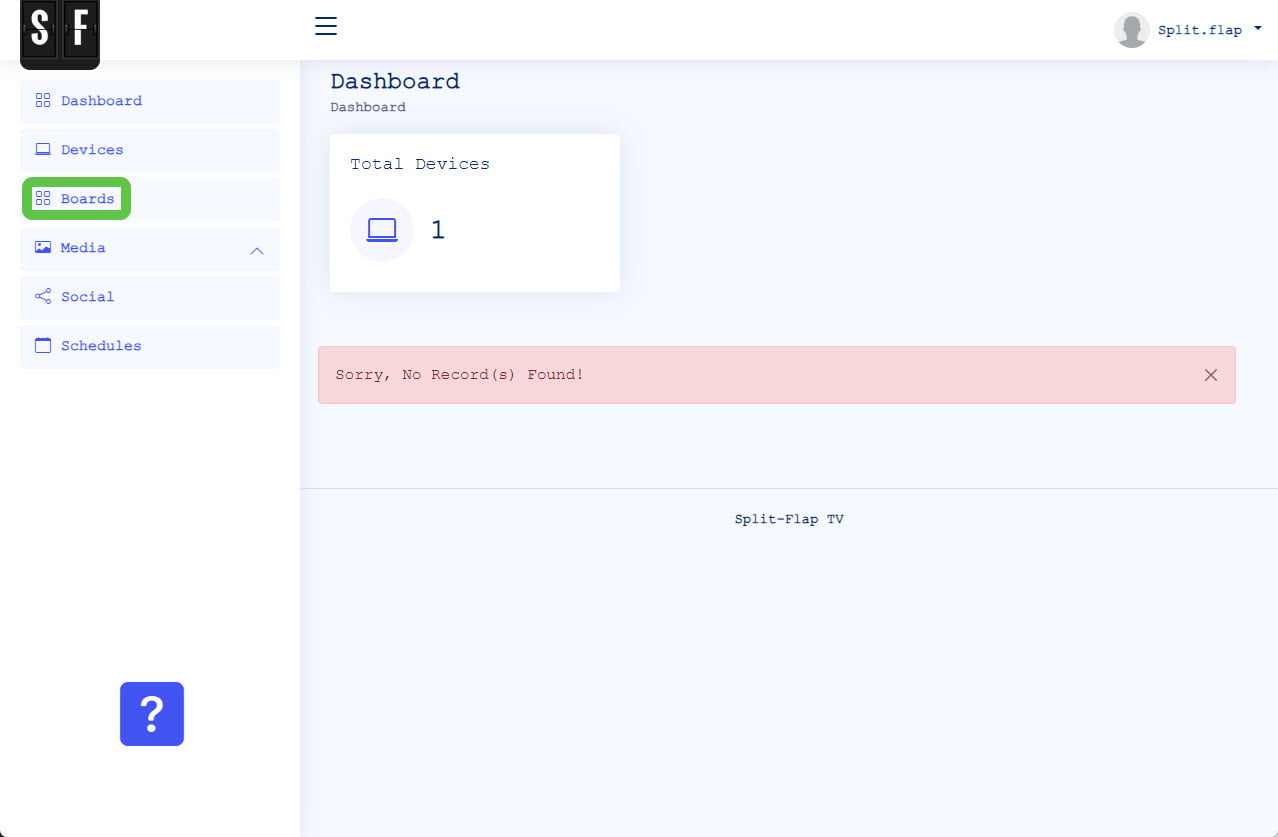
From your dashboard’s menu, click the Boards option.
Add a New Text Board
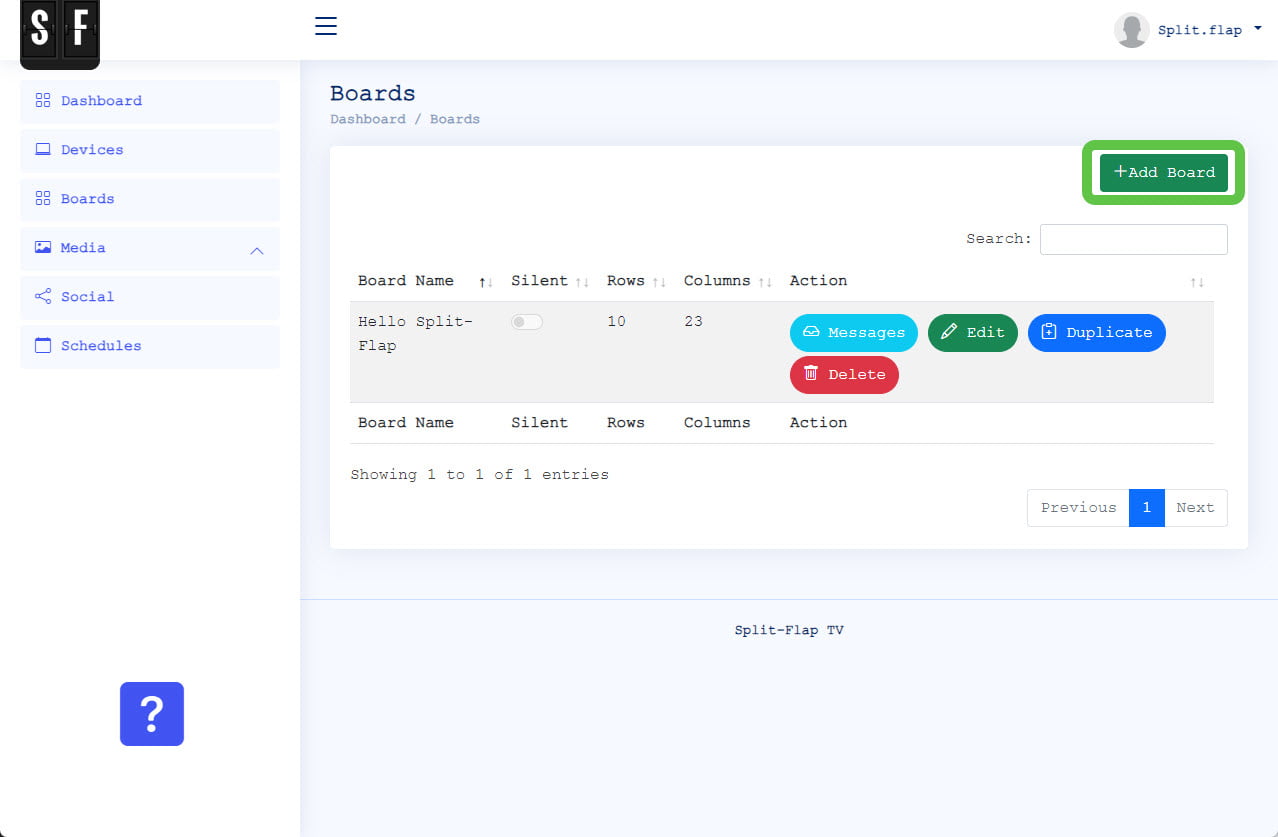
On this form, you will find a list of all your boards. There is already a default board created for you. As a first-time user, click the Add Board button.
Type of Board
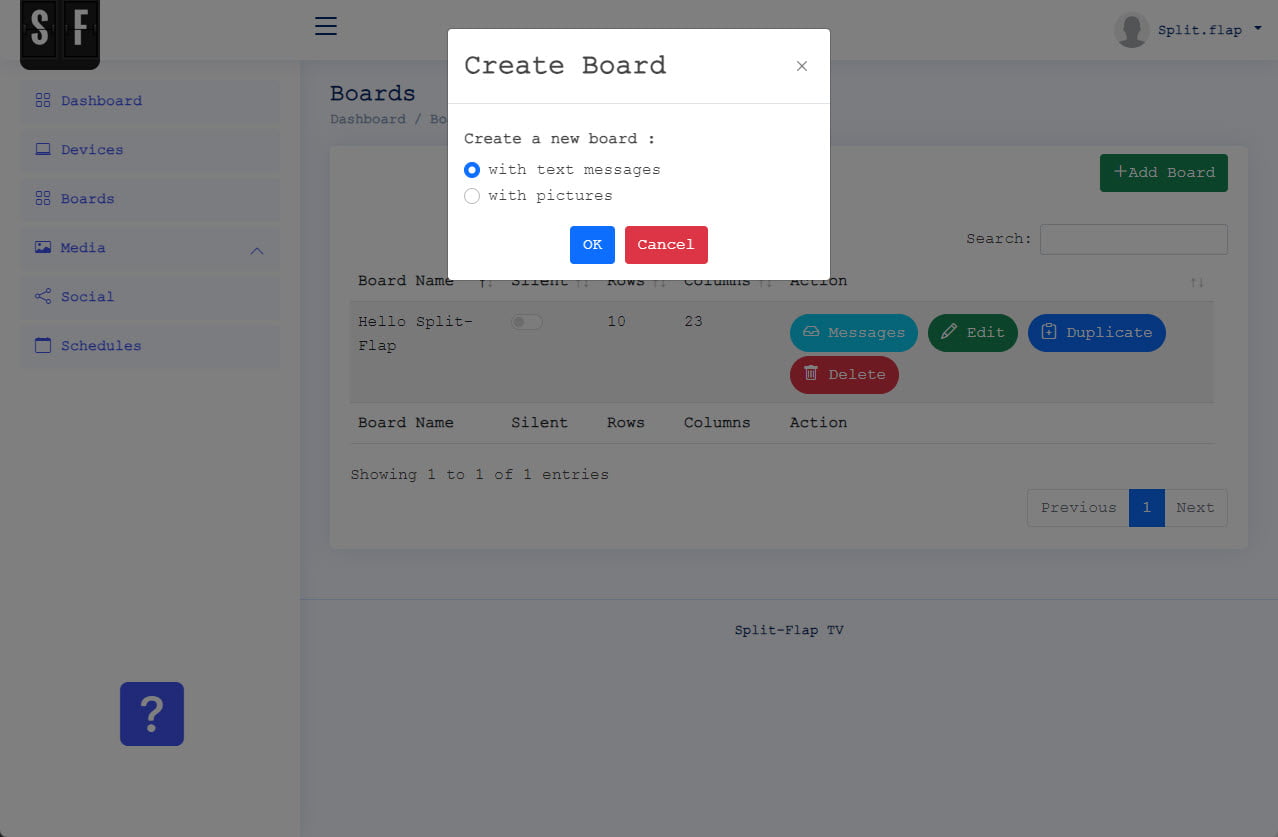
At this popup, choose whether you want to create a board with text messages or with pictures. On this page we will create a board with text messages only. So choose the first option ‘with text messages’ and click the OK button.
Board properties
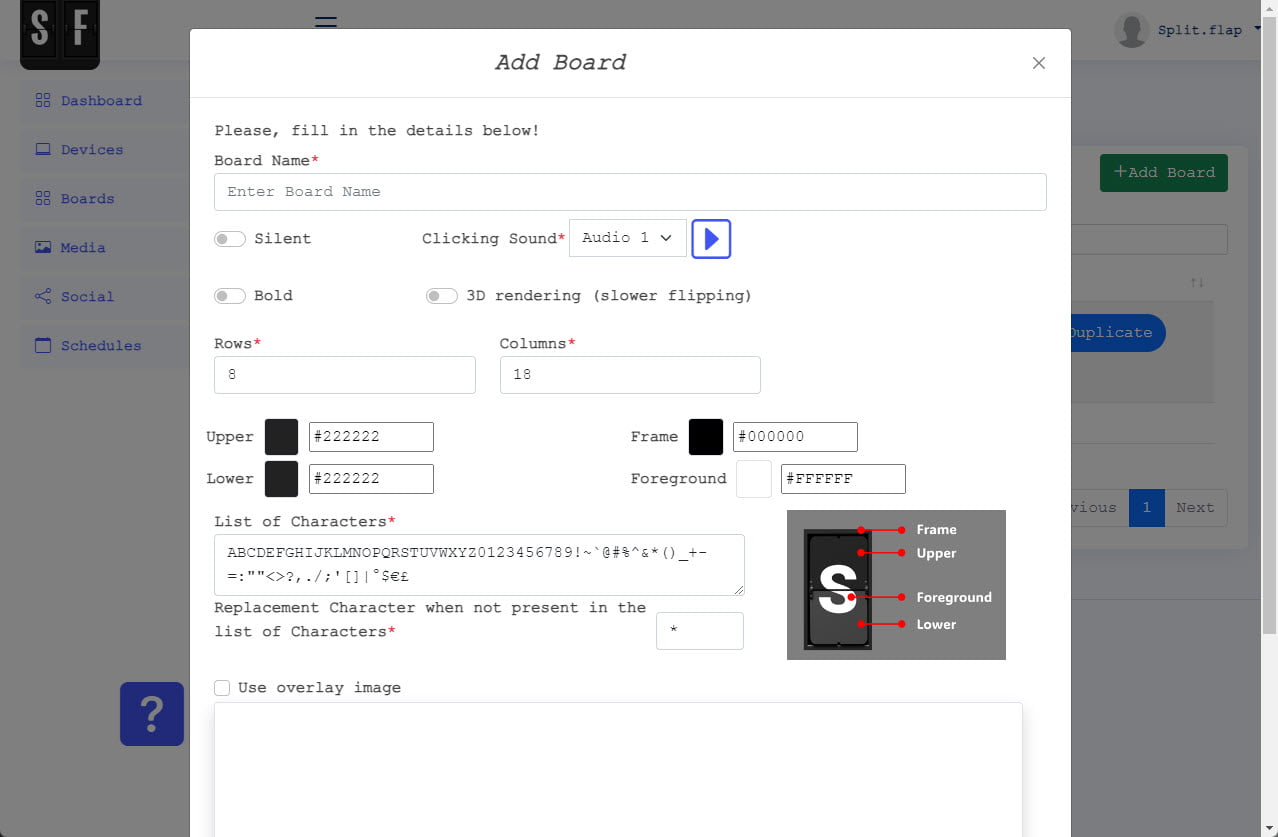
To create a Board, start with a name.
Then choose if you want to have that typical clicking sound when the text is updated on your Split-Flap board. There are 3 variations of the clicking sound available.
Next you have the option to display the characters as normal characters or in bold. Also there is an option to show nice 3D animation on your board. This option will slow down your animation, so best don’t use it on boards with a larger number of rows and columns.
Then set the desired number of rows or lines, and the number of characters on each row. You can add messages to a Board, but they will all use this dimension for all messages. So make sure that your messages fit.
Furthermore, you can choose some colors for your board. You can choose a color or enter the known HEX value. 4 Colors can be set: the outside frame color, the default color of the characters you display, and the color for the upper and lower flaps.
Finally, you can enter a list of characters that you want to use. Make sure to include e.g. A to Z, 0 to 9, and a few other characters. In the event that we find a character in your text that is not included in your list of characters, then it will be replaced by the single character that you enter in the replacement character box. The more characters that you have at your list of characters, to longer the flipping animation will take.
The option to use an overlay image will be explained on another dedicated page for this feature.
Click the Save button to commit the changes.
Board Created
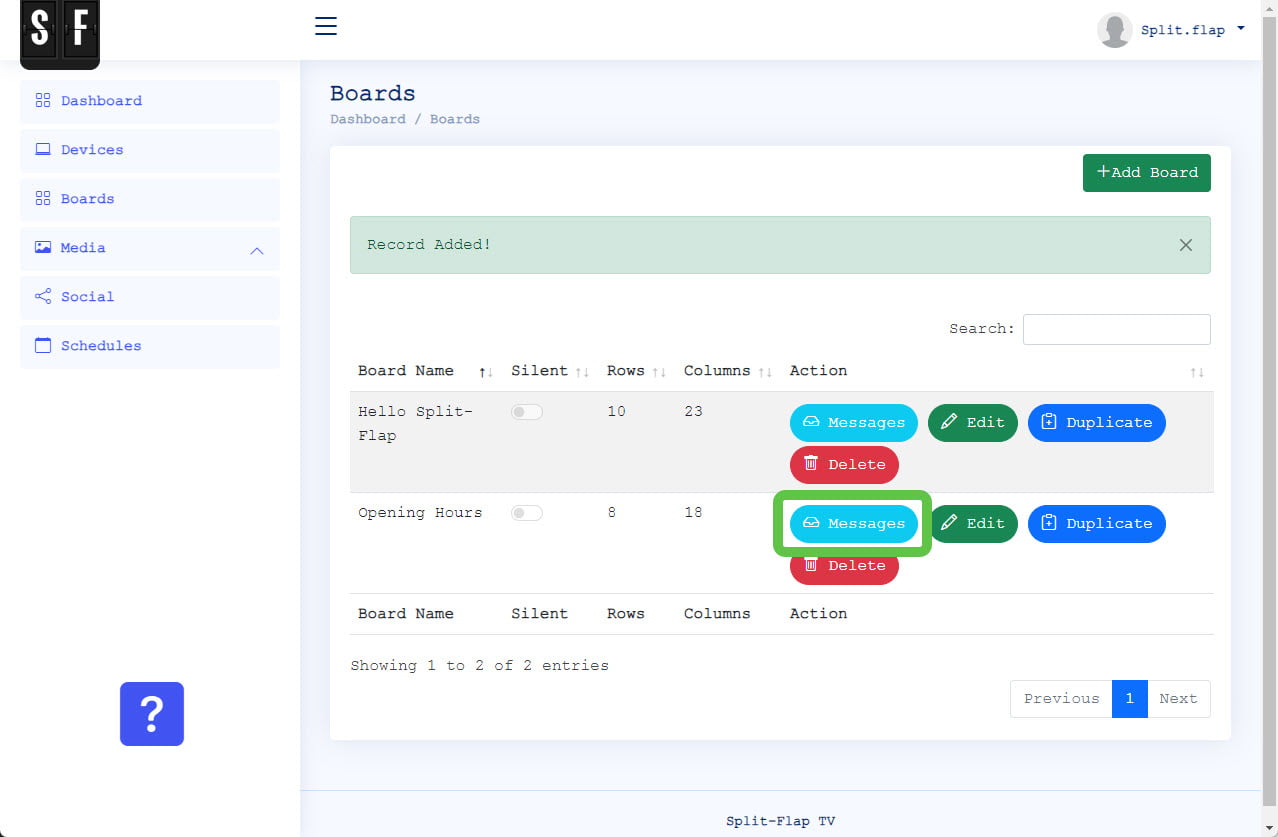
Your first board is now created but does not contain information or text. Click the Messages button here.
Add the First Message
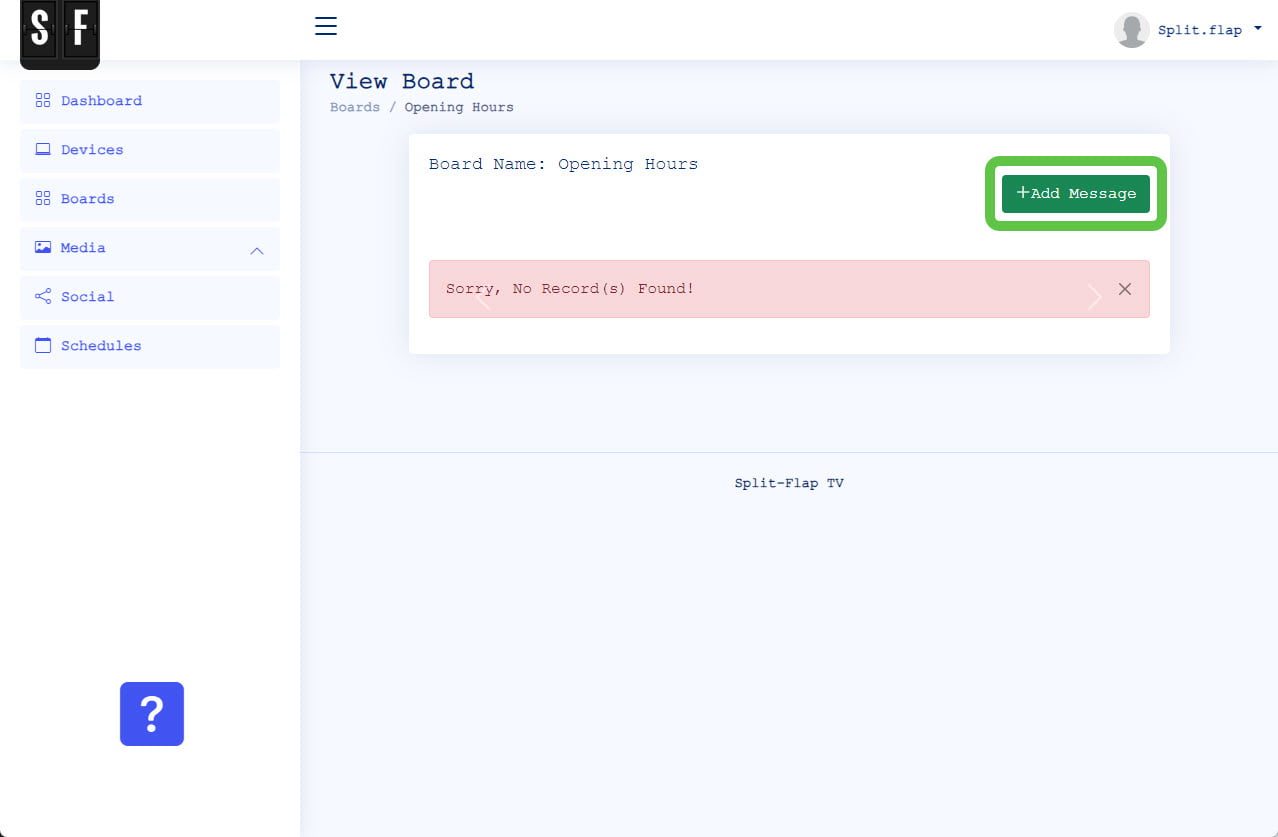
Click the Add Message button to add your first message to this board. Think of a message as a slide in a presentation. You can have multiple messages just like you would have multiple slides in a presentation.
Message Properties
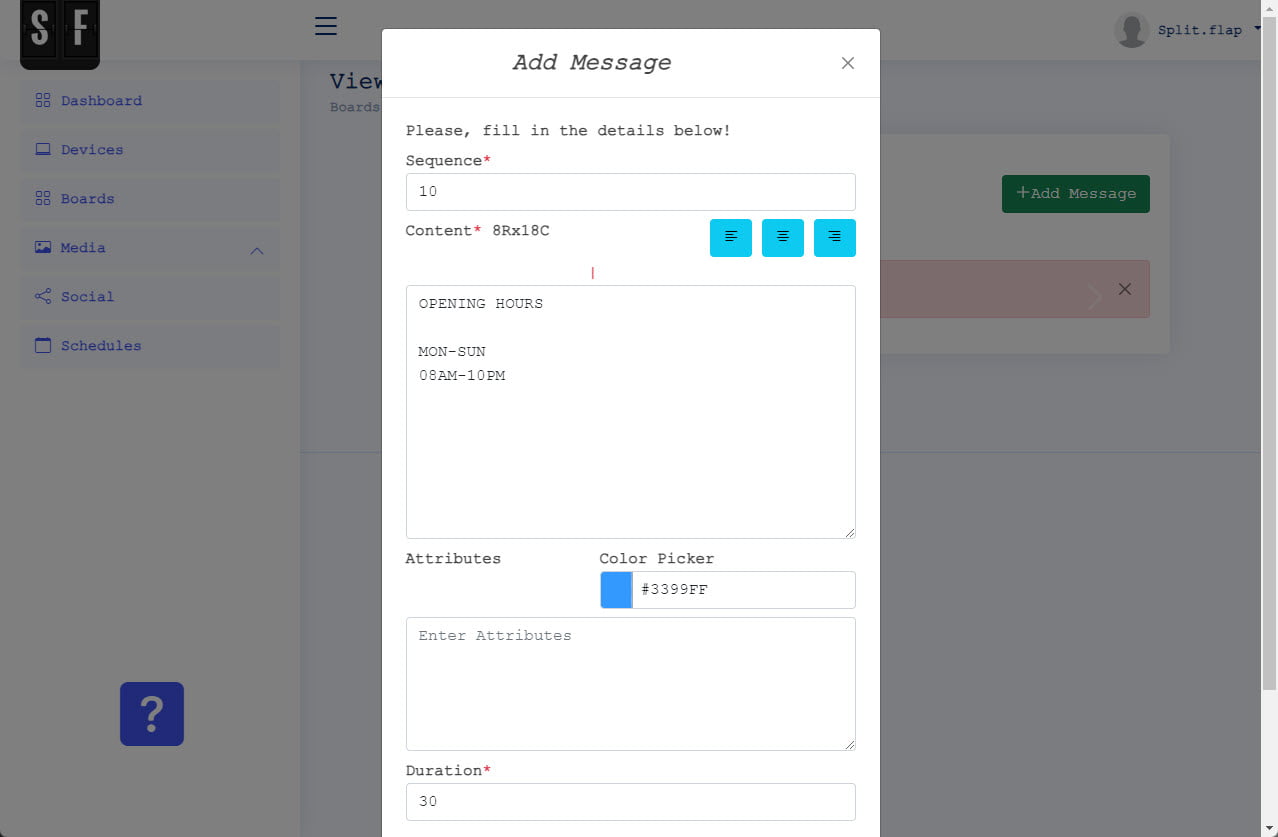
The sequence is a sequential number to indicate the order of your messages within the board. When you add messages, they are automatically added after the last message of your board. You can change the message number to re-order your messages.
Enter your message, your advertising, or whatever text at the message’s textboxes. Here you can type all the text for all the lines of a board. So when you created a board with 5 rows, then you can enter 5 lines of text here. Whenever your first line is filled in, hit ENTER and start entering the text for the second line.
The user interface is not checking the number of characters on every line because of the shortcodes that you can use. Do not exceed the number of real characters on a line or it will be truncated on that line.
All your text will appear in white on your Split-Flap TV board. We will discuss the coloring or attributes field in another article.
In the duration field, you can specify the number of seconds that this message should be visible on the board. Make sure that the duration is long enough to read the content of your page.
Hit Save to commit the changes.
Message Added
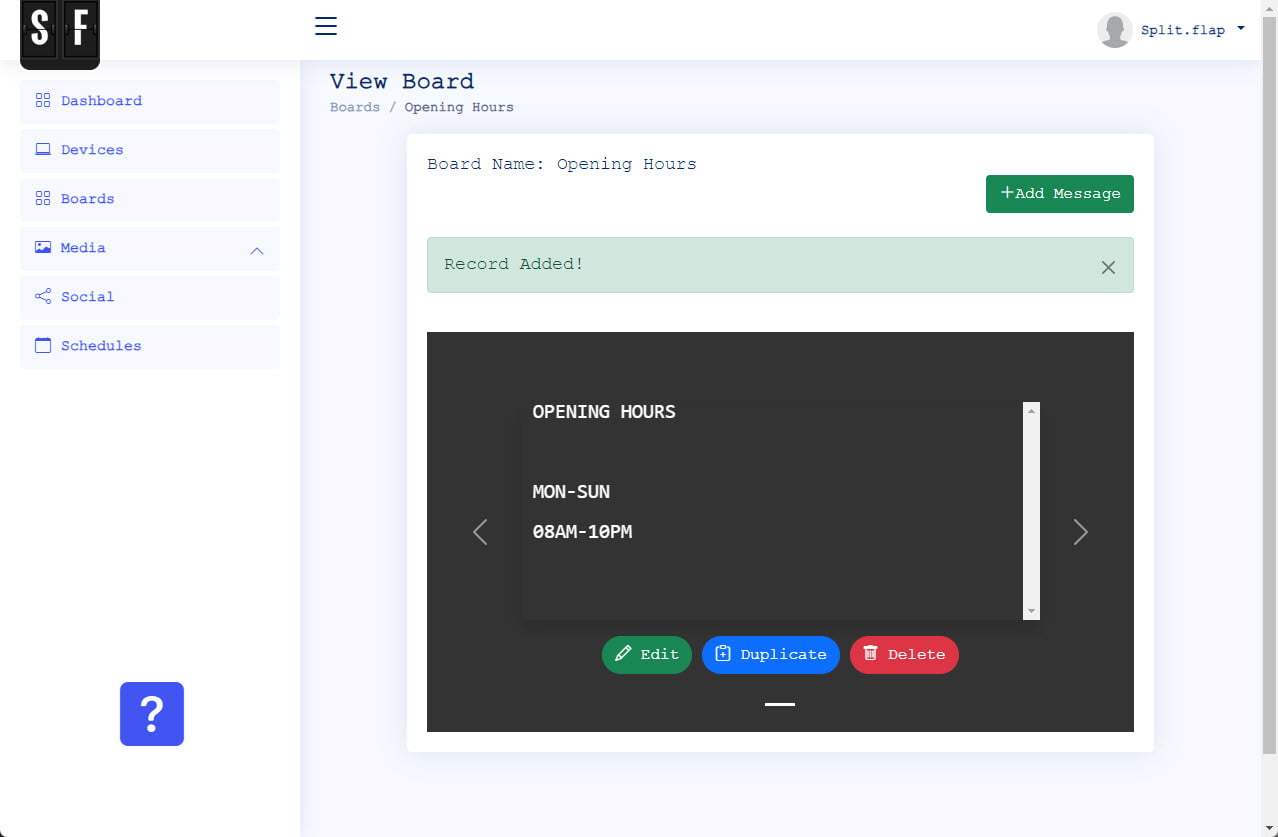
This message is added to your board. You can see a preview here. Use the Edit button to make changes to your message. Or hit Delete to remove the message from the board. Or click the Add Message button to add more messages to your board.
Board Ready
Our board is ready now and can be scheduled for playback on any of your Split-Flap TV devices.
