If you’ve ever wondered “how do I put my menu on a TV screen today?” you’re in the right place. Whether you want to display a bar drink list, lunch specials at your café, or a lobby info screen in your hotel, this guide walks you through the practical options available in 2026.
Digital menu boards modernize the atmosphere of restaurants and enhance customer experience by providing clear, engaging, and easily updated information.
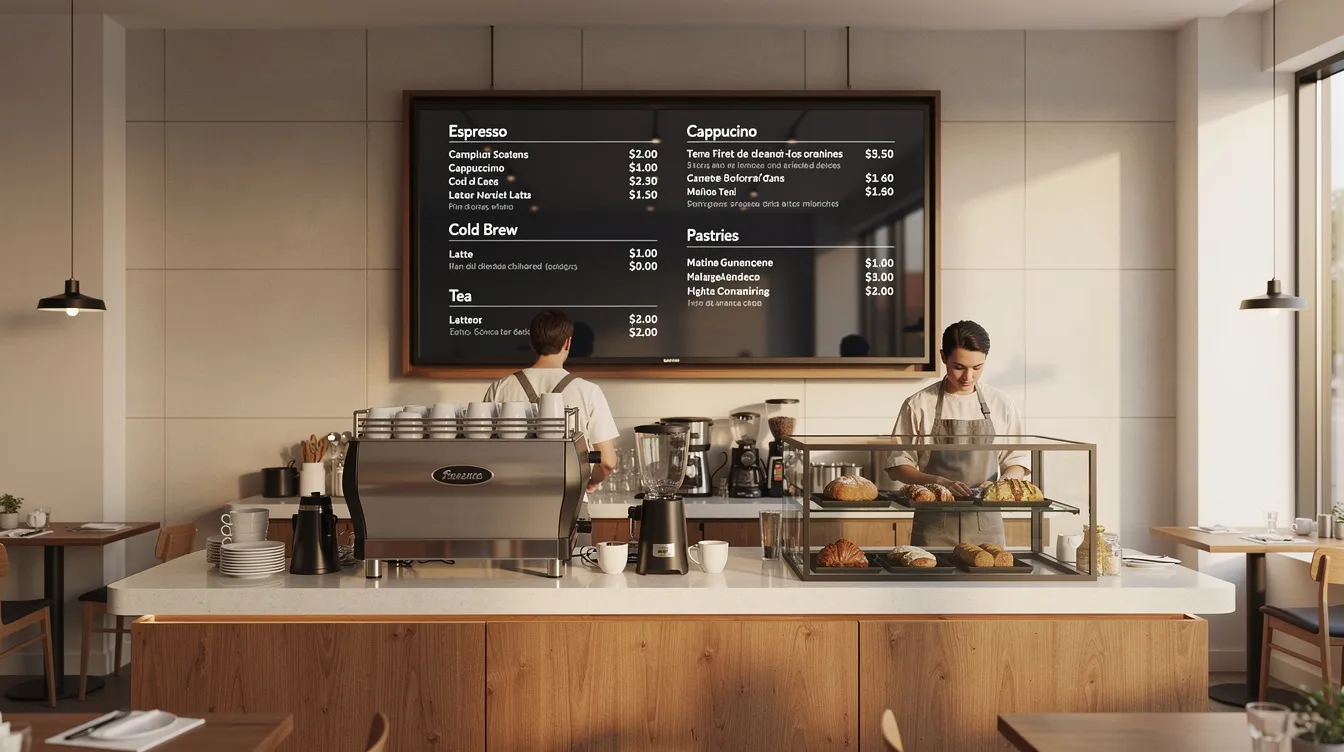
A TV menu is exactly what it sounds like: a digital display showing your menu, prices, and announcements on a standard flat-panel TV instead of printed posters or chalkboards. You can keep it simple with static images on a USB stick, or go further with a full digital signage system that updates remotely. Digital signage software can transform traditional displays into dynamic, engaging menu boards that capture attention and improve functionality. One modern option is Split-Flap TV, a SaaS platform that transforms any TV into a nostalgic split-flap style board inspired by classic train station departure displays.
What Is a TV Menu and Why It Matters for Your Business
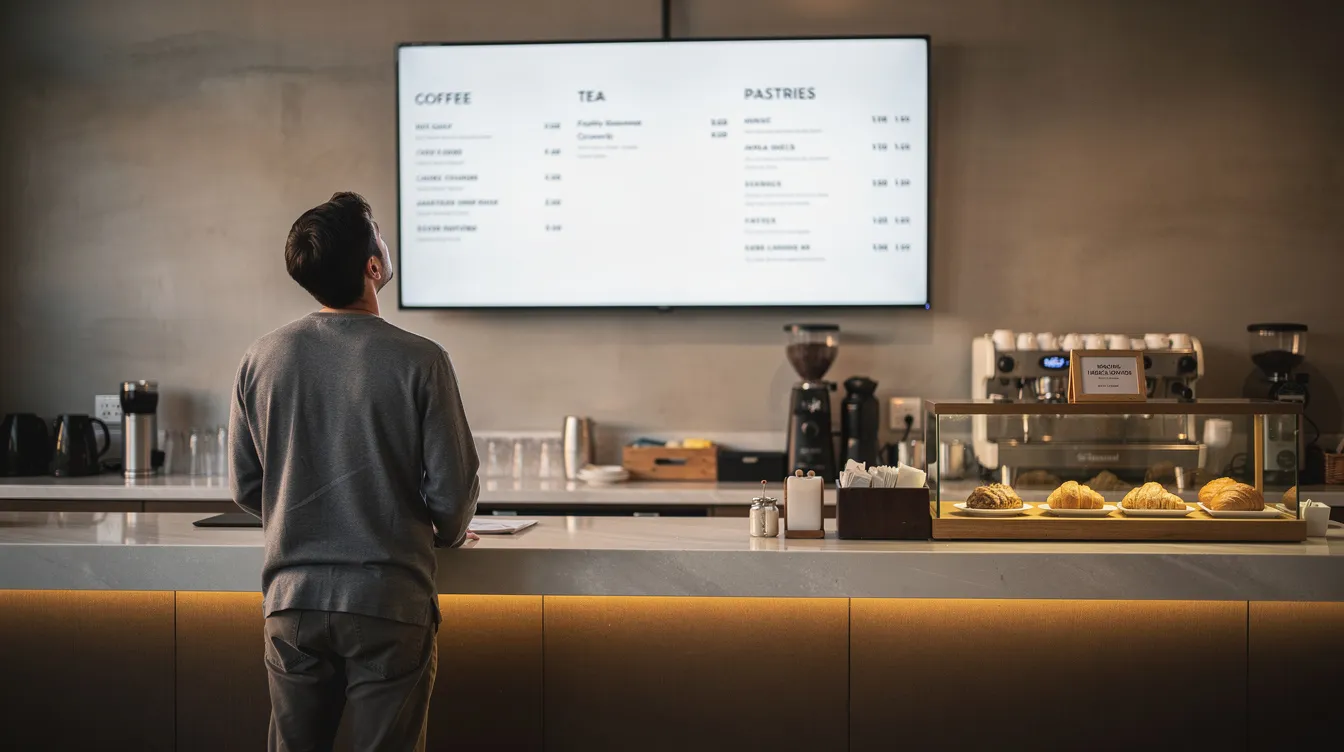
A TV menu replaces paper menus, printed posters, and handwritten chalkboards with a digital screen that customers can read from across the room. Bars use them to show rotating draft lists. Cafés display daily lunch specials. Hotels show check-in times and event schedules in their lobbies. Offices put them in reception areas to welcome visitors.
The key difference from print? You can update a TV menu instantly. When ingredient costs spike in January 2026 and you need to adjust prices, you don’t have to reprint anything. When a beer keg runs out, you can remove it from the screen in seconds. When your seasonal menu ends on 31 March, the old items disappear without anyone having to peel off stickers.
Key benefits of using a TV menu:
- Reduced printing and shipping costs, especially for seasonal menus and promotions
- Central control of pricing across multiple locations
- Real time content updates when items sell out or prices change
- Improved readability versus cluttered printed posters in busy environments
- Ability to reuse existing TVs with low-cost media player devices
- Scheduling for different dayparts (breakfast, lunch, happy hour) without manual intervention
- Streamlined operations by synchronizing with POS systems for up-to-date menu availability and pricing
Digital menu boards also improve readability and allow for dynamic content changes throughout the day. In addition, they can display high-quality images and videos to attract customer attention and increase engagement.
TV menus are ideal for highlighting promotions and supporting creative marketing strategies, ensuring brand consistency and compliance across all locations.
Choosing the Right Equipment for Your TV Menu
Selecting the right equipment becomes a delightful journey—one that transforms the foundation of your digital signage into something truly magical for your TV menu. The perfect harmony of hardware and software doesn’t merely ensure your digital menu boards look sharp and run smoothly; it creates an enchanting customer experience that invites guests to pause, wonder, and connect with your space in meaningful ways.
Display Selection
Start with the display: Choose a TV or digital canvas that feels right for your space—something that speaks to both function and soul. For most cafés, bars, and intimate restaurants, a 43–55 inch screen creates that perfect sweet spot of visibility, drawing eyes from several meters away with an almost magnetic pull. If your venue breathes with larger dimensions or you dream of creating a mesmerizing video wall, consider multiple screens or commercial-grade displays crafted for the endless rhythm of public spaces. Seek at least Full HD (1080p) resolution, though 4K whispers promises of crisp, readable menus that feel almost tactile. High brightness—350 nits or more—becomes essential in well-lit sanctuaries, preventing glare and ensuring your digital stories remain vivid and clear throughout each day’s journey.
Media Players and Connectivity
Media players and connectivity: Modern smart TVs with their built-in souls—Android TV, Samsung Tizen, or LG webOS—often embrace digital signage software with surprising grace. If your display yearns for more intelligence, or you crave greater creative freedom, welcome a cost-effective media companion such as an Amazon Fire TV Stick, Apple TV, or the wonderfully inventive Raspberry Pi. These little marvels connect through HDMI pathways and open doors to countless digital signage possibilities, including the nostalgic charm of Split-Flap TV. Ensure your chosen hardware can dance with your local network or Wi-Fi—this connection becomes the lifeline for real-time content updates and the gentle art of remote management.
Software Selection
Software matters: Your digital signage software choice carries the same weight as selecting a trusted companion for your business journey. Seek a solution that feels intuitive to your touch, offering a robust content management system that never overwhelms but always empowers. Features like scheduling, dynamic content, and multi-screen orchestration should feel natural—almost effortless. The finest digital menu software becomes an extension of your vision, managing countless screens and locations from a single, elegant dashboard. Whether you’re crafting static beauty, orchestrating rotating promotions, or weaving live elements like weather updates and social connections, the experience should feel seamless and inspiring.
Scalability and Integration
Scalability and integration: As your business story unfolds and grows, your digital signage should evolve alongside—like a trusted friend who adapts to your changing needs. Choose equipment and software that welcomes new screens with open arms, celebrates different content forms—images, videos, the mesmerizing split flap display, interactive experiences—and integrates gracefully with the platforms and services that already support your dreams. This thoughtful approach protects your investment while ensuring your signage remains as effective and enchanting as your vision continues to expand.
Cost and Planning
Cost and planning: Craft your budget with wisdom—honoring existing TVs where possible while investing in reliable, energy-conscious hardware that feels both responsible and refined. Subscription-based solutions like Split-Flap TV offer flexible pathways, allowing you to begin modestly and flourish as inspiration strikes. Always plan for effortless maintenance—choose equipment that welcomes easy setup, intuitive management, and gentle troubleshooting, creating minimal disruption while reducing the learning curve for your cherished team.
Step by Step Guide to Equipment Selection
- Assess your space with thoughtful consideration—understanding viewing distances and discovering the perfect screen size and placement that feels harmonious.
- Choose a TV or digital display with resolution and brightness that honors your environment’s unique character.
- Decide whether your smart TV holds sufficient magic or requires a media player companion (Fire TV Stick, Apple TV, Raspberry Pi) to unlock its full potential.
- Ensure reliable internet or network connectivity flows seamlessly—this becomes your lifeline for real-time content updates and remote orchestration.
- Select digital signage software that resonates with your vision for scheduling, remote control, and dynamic storytelling.
- Test your creation in authentic conditions—observe visibility, notice glare patterns, and experience the ease of interaction firsthand.
- Plan for tomorrow’s possibilities by choosing scalable hardware and software solutions that grow alongside your dreams.
By embracing this thoughtful process, you’ll craft a digital signage experience that transcends mere functionality—creating something that truly delights, engages, and connects with every guest who enters your space, helping your business shine with authentic distinction in 2026 and beyond.
What Should Be on a TV Menu (and What Should Stay Off)
Your TV menu needs to be readable from 2–5 meters away. Customers standing in line at a quick-service restaurant or glancing from across a bar shouldn’t have to squint. Clarity beats creativity when someone is trying to decide what to order.
Must-have elements:
- Item names: short, distinctive, easy to scan
- Short descriptions: 1–2 concise lines focused on key ingredients
- Prices in local currency (€, $, £) clearly associated with each item
- Section headers like “Burgers,” “Cocktails,” “Breakfast until 11:30”
- Your logo and brand colors for recognition (without overwhelming the content)
- Operational info such as “Order at the bar” or “Kitchen closes 22:00”
Time-sensitive content that works well:
- Happy hour times: “17:00–19:00 Monday–Friday”
- Lunch deals: “Two courses for €12, 11:30–14:30”
- Seasonal menus: “Winter Special Menu – valid until 31 March 2026”
- Limited-time offers: “Super Bowl 2026 Wing Platter”
What to avoid:
- Long paragraphs of text that nobody reads while waiting in line
- Tiny fonts that force people to step closer
- Cluttered backgrounds or busy photos behind text
- Autoplay video with sound competing with your background music
- Fast flashing animations that annoy customers and can cause accessibility issues
- Full social media feeds that distract from the menu itself
Keep each screen to roughly 15–20 lines of menu items. For longer menus, use multiple screens or rotate categories every 10–15 seconds. Don’t make people wait too long to see what they’re looking for.
Basic TV Menu Options: From Simple to Advanced
There are three main paths to getting your menu onto a TV screen:
- Static USB slideshow – Export your menu as images, save to a USB stick, plug into the TV, and use its built-in photo viewer
- Consumer apps – Use PowerPoint, Google Slides, or casting from a laptop to mirror content to the TV
- Dedicated digital signage – Install software like Split-Flap TV that connects to a cloud dashboard for scheduling, remote updates, and multi-screen control
The right option depends on how often your menu changes, how many screens you manage, and how comfortable your staff is with technology. A single-screen café with a menu that changes monthly has different needs than a bar chain rotating craft beers weekly across five locations.
Digital signage solutions work by combining cloud software (a content management system) with a player app running on your TV or a connected media player. This setup lets you control what appears on one screen or dozens from a single browser.
Using a USB Stick with Pictures: The Simplest TV Menu Setup
The classic approach: design your menu pages in PowerPoint or Canva, export them as JPG or PNG files, copy them to a USB stick, and plug that stick into your TV. Most smart TVs from Samsung, LG, Sony, and others include a built-in media player that can display images in a slideshow.
Step-by-step process:
- Create your menu in PowerPoint, Canva, or similar software
- Set the canvas to 1920×1080 pixels (Full HD) or 3840×2160 pixels (4K)
- Export each slide as a high-quality JPG or PNG
- Number files so they play in order (01_Breakfast.jpg, 02_Lunch.jpg)
- Copy files to a USB flash drive
- Insert USB into your TV and navigate to the media player
- Start the slideshow, set duration per image (10–20 seconds), and enable repeat/loop
Advantages:
- Almost zero cost if you already own a TV and USB stick
- No internet connection required
- Works with nearly any modern TV without extra hardware
- No subscription fees or ongoing costs
- Simple mental model: copy files, plug in, press play
Disadvantages:
- Every price change or new item requires re-exporting files and physically visiting each TV
- High risk of displaying outdated content like “Christmas 2025 Offer” in March 2026
- No scheduling capability: staff must manually switch between breakfast and dinner menus
- Cannot show live data such as current time, weather, or social counters
- USB sticks wear out over time and staff may accidentally remove them
- After power cuts, the TV may not auto-restart the slideshow
- Scales poorly: managing USB updates across three locations is tedious and error-prone
Option 2: Using Standard Apps (PowerPoint, Google Slides, JPG Playlists)
Many small venues start with tools they already know. Connect a laptop to the TV via HDMI, open a PowerPoint deck in slideshow mode, and let it loop. Alternatively, use Chromecast or AirPlay to cast Google Slides directly to a smart TV.
Typical workflow:
- Create a 16:9 presentation in PowerPoint 365 or Google Slides
- Connect a Windows 11 or macOS laptop to the TV via HDMI, or cast wirelessly
- Run the slideshow in full-screen mode with “Loop continuously” enabled
- Update the file and restart the slideshow whenever you need changes
Pros:
- Familiar tools that staff already know how to use
- Relatively quick to edit a price or add an item
- Supports simple animations, transitions, and brand fonts
- Some remote update capability if the laptop stays on and connected
Cons:
- Requires a computer or phone to remain powered on and connected
- Notifications, system pop-ups, or accidental keystrokes can interrupt the display
- Chromecast or AirPlay connections can drop in congested Wi-Fi environments
- No built-in scheduling: someone must manually change content at different times of day
- Scales poorly beyond one or two screens
This approach works best for very small venues: owner-operated bars, food trucks, community clubs, or co-working spaces where one person controls a single screen and updates happen weekly rather than hourly.
Option 3: Dedicated Digital Signage for TV Menus
Dedicated digital signage software runs as an app on your smart TV, Amazon Fire TV Stick, Apple TV, or Android TV box. It connects to an online dashboard where you create content, set schedules, and push updates to one screen or many. A complete digital signage system consists of several components: software components (like content management and scheduling), hardware components (such as display devices and playback devices), and integration tools that ensure flexibility and scalability for different business needs. Playback devices are media players or streaming sticks that deliver content to the display; mounting systems are the hardware used to securely install screens in various environments.
Core features:
- Scheduling and dayparting: automatically switch between breakfast, lunch, dinner, and late-night menus
- Playlists: mix menu content with promotions, branding, and info segments
- Templates: pre-designed layouts for menus that reduce design effort
- Remote updates: change prices or add items from any browser without visiting the venue
- Multi-location control: manage screens across multiple sites from one dashboard
Hardware in 2026:
- Smart TVs with Android TV, Google TV, Samsung Tizen, or LG webOS
- Low-cost devices: Amazon Fire TV Stick, generic Android TV boxes, Apple TV
- Commercial displays designed for 16/7 or 24/7 operation with higher brightness
- Video walls for high-impact, large-scale digital signage in public spaces and venues
The hardware required for digital signage includes display devices (such as TVs or monitors), playback devices (like media players or streaming sticks), and mounting systems to securely install screens in various environments.
This setup suits businesses with frequent changes: bars rotating craft beers weekly, cafés with daily lunch specials, hotels updating event schedules. The digital signage network handles automation so staff don’t have to remember which menu to show at which time, and platforms that combine nostalgic charm with modern digital signage features can make those automated updates even more engaging.
Split-Flap TV fits into this category as a specialized option that adds a nostalgic split flap display aesthetic on top of standard signage capabilities.
How to Set Up a TV Menu Step by Step
You can set up a basic TV menu in under an hour if you already have a screen. Here’s a practical checklist:
- Pick the right screen size: 43–55 inches works for small cafés with 3–5 meter viewing distance; 65+ inches for long bars or hotel lobbies
- Check resolution and brightness: at least 1080p; higher brightness (350+ nits) for rooms with lots of natural light or strong ceiling fixtures
- Choose your method: USB for rare changes, laptop/casting for weekly updates, digital signage platform for daily changes or multiple screens
- Design your layout: set canvas to match TV resolution, use high-contrast colors, large fonts, clear section headers
- Keep it readable: limit each screen to 15–20 menu items; use multiple screens or rotation for longer menus
- Connect the hardware: USB into TV, HDMI from laptop, or install the signage app on your smart TV or media player
- Configure content or scheduling: if using signage software, set up playlists for different dayparts
- Test in real conditions: stand where customers actually queue and verify you can read prices and item names quickly
- Check for glare: adjust TV angle or brightness if windows or lights cause reflections
- Test power recovery: turn the TV off and on to confirm content auto-restarts
Best Practices: Design Tips for High-Performing TV Menus
Design choices affect both sales and customer experience. A bar that highlights “House Favorites” with a subtle border around three featured cocktails can see those items ordered more frequently. A cluttered screen with tiny text slows down ordering and frustrates customers.
Typography and Contrast
- Use dark text on a light background or light text on a dark background
- Stick to sans-serif fonts (Helvetica, Roboto, Open Sans) for easy reading at distance
- Avoid all caps for anything longer than a short header
- Limit yourself to 2–3 font sizes: large for category headers, medium for item names, smaller for prices and descriptions
Layout and Hierarchy
- Group related items under clear headers and align text consistently
- Use consistent spacing so customers can scan quickly
- Reserve space for your logo and any key callouts
Photos and Images
- Use photos sparingly: highlight bestsellers or high-margin items only
- Avoid low-resolution phone photos that look pixelated on 4K digital displays
- Consider simple icons for dietary indicators (vegan, spicy, gluten-free) instead of full images
Time-of-Day Relevance
- Morning screens emphasize coffee and pastries
- Afternoon screens highlight lunch sets
- Evening screens focus on drinks and snacks
- If using digital signage, tie these directly to automated schedules
Where USB and Basic Setups Fall Short in 2026
USB slideshows and laptop casting work fine for getting started. But they become painful as your menu changes more often or your business grows.
Real scenarios where USB fails:
- You need to update allergen information across three locations in January 2026, but each TV requires a physical visit with a new USB stick
- Your bar rotates craft beers every weekend, and managing file versions across multiple TVs leads to wrong beers showing on the wrong screens
- A promotional message like “Christmas 2025 Offer” stays on screen in March because no one remembered to update the stick
Operational issues:
- Staff forget to update sticks, leave them in drawers, or plug the wrong one into the wrong TV
- After a power outage, the slideshow doesn’t auto-restart and no one notices for hours
- There’s no automation: breakfast menu shows at 8 PM because manual switching didn’t happen
Missing modern features:
- Cannot automatically show current date and time
- Cannot display live weather for your city
- Cannot show social counters like Instagram followers
- Cannot hide sold-out items without manual re-export
Industry experts now say that “a USB stick with an image inserted into a TV should not be considered a digital signage solution anymore.” The lack of dynamic content, scheduling, and remote control makes it impractical for businesses that need to keep menus accurate and visually stimulating.
Split-Flap TV: Nostalgic Digital Signage for TV Menus
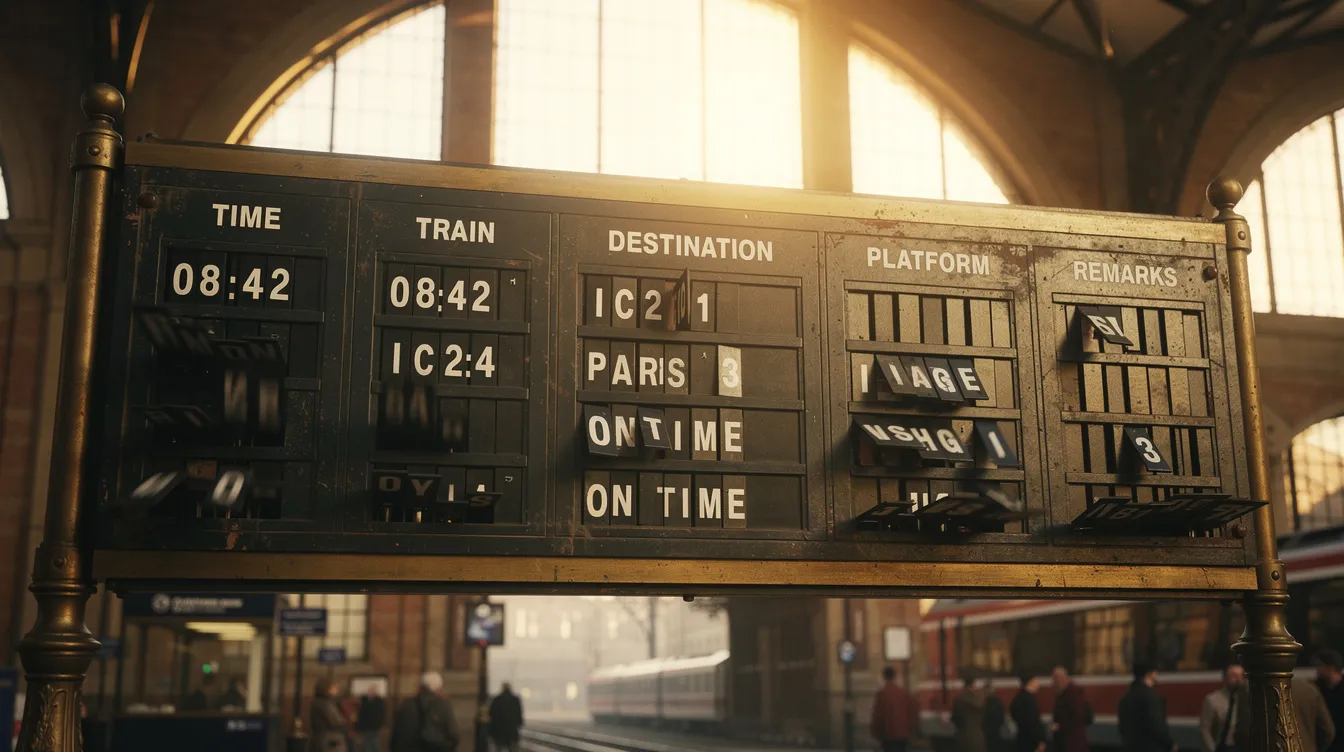
Split-Flap TV is a subscription-based SaaS that transforms any TV into a digital split-flap style board. The design draws inspiration from the classic Solari boards found in train stations and airports during the mid-20th century, where mechanical characters flipped to show destinations and departure times. As one of the world’s most recognizable digital signage styles, modern split flap display boards bring global nostalgia and trusted visual communication to modern spaces.
How it works:
- Install the Split-Flap TV app on a smart TV, Amazon Fire TV, Apple TV, or Android device
- Connect the device to your local network
- Log into the online dashboard from any browser
- Create boards for your menus, schedules, and messages
- The TV displays your content with the iconic flipping animation
Digital signage is widely used in transportation hubs, retail stores, restaurants, corporate buildings, hotels, educational institutions, healthcare facilities, and public spaces, and split-flap displays are making a comeback in many of these digital spaces.
Visual advantages:
- Authentic split-flap animation that mimics mechanical boards
- High contrast, monospaced characters that are easy to read from distance
- Minimalist layouts that naturally avoid clutter
- Retro charm that stands out from generic flat digital menus
Business use cases:
- Bars showing rotating draft lists with beer name, style, ABV, and price
- Cafés listing daily coffee specials and “today’s soups”
- Hotels displaying check-in info, breakfast times, and local weather in the lobby
- Retail stores promoting hourly offers or event schedules in public spaces
Split-Flap TV helps businesses engage different audiences in public spaces, making information accessible and visually appealing. Affordable split-flap boards that combine timeless design with modern technology can also be integrated into kiosks for interactive or self-service applications, allowing users to access information or perform tasks independently.
Split-Flap TV offers a 7-day free trial so you can test it on an existing TV before committing. Subscription tiers (Economy, Business, Cockpit) scale from single venues to multi-location chains, and the platform provides clear guidance on getting started with Split-Flap TV across different devices.
Advantages of Using Split-Flap TV for Your TV Menu
Easy updates from anywhere:
- Change prices, add new items, or remove sold-out specials from any browser or phone
- Updates propagate to connected devices within seconds
- No USB sticks to manage, no laptops to keep running
Scheduling and automation:
- Set breakfast board to display 07:00–11:00
- Lunch board 11:00–15:00
- Happy hour 17:00–19:00 on weekdays, 16:00–18:00 on weekends
- Configure special schedules for holidays like New Year’s Eve 2026
- The system switches automatically without staff intervention
Integrations for dynamic displays:
- Show current date and time in a corner of the board
- Display live weather for your city
- Add social counters like Instagram follower counts
- Rotate between menus, announcements, and promotions
Multi-screen and multi-location control:
- Manage one screen in a single bar or dozens of TVs across multiple sites
- Assign different boards to different zones (bar, entrance, patio, lobby)
- Maintain consistent branding while allowing local specials
Hardware flexibility:
- Works on widely available smart TVs and cost effective media players
- Reuse existing screens instead of buying proprietary hardware
- Adding a new TV is as simple as installing the app and pairing it with your dashboard, and detailed Split-Flap TV guides for installation and board setup walk through every step.
How to Switch from USB or Basic Slides to Split-Flap TV
Migration takes an afternoon, not a week. You don’t need specialist AV installers.
Step by step guide:
- Sign up for the Split-Flap TV free trial at splitflap.tv
- Install the app on one TV in your venue (smart TV app store, Fire TV, Apple TV, or Android box)
- Pair the device with your online dashboard using the code displayed on screen
- Create boards for key menu sections: “Lunch Menu,” “Drinks,” “Today’s Specials”
- Transfer content from your existing PowerPoint or printed menu into the split-flap board lines
- Configure time-based switching if needed (hide lunch board outside 11:00–15:00)
- Run Split-Flap TV on one screen for a few days alongside old signage to compare visibility and guest reactions
- Roll out to additional TVs: install the app, add devices in the dashboard, assign each to specific boards
- Document a simple internal process: who edits boards, who approves changes, when to schedule seasonal updates
The intuitive interface means most owners can set up their first board in under 30 minutes. If you can edit a spreadsheet, you can manage Split-Flap TV.
Summary: Choosing the Right TV Menu Solution for Your Venue
Three paths, three different fits:
|
Option |
Best For |
Limitations |
|---|---|---|
|
USB slideshow |
Single screen, rarely changing menus, zero budget |
Manual updates, no scheduling, no remote control |
|
PowerPoint/Google Slides |
Tech-comfortable owners, weekly updates, one screen |
Fragile connections, no automation, doesn’t scale |
|
Split-Flap TV |
Dynamic menus, multiple screens, real-time info, multi-location |
Requires internet, monthly subscription |
When to choose each:
- Use USB if your menu changes once a quarter and you have a single TV with a staff member on site who can swap files
- Use slide apps if you’re a solo operator comfortable with laptops and your menu changes weekly
- Use Split-Flap TV if you need reliable scheduling, remote updates, multiple screens, or want the nostalgic split-flap aesthetic that guests notice and remember
TV menus should be clear, on-brand, and easy to update. They should deliver a better customer experience and reduce staff workload, not create another technical burden. The right digital menu software handles the automation so your team can focus on service.
Across the industry, a growing number of organizations and companies are adopting digital signage solutions for their tv menu needs, reflecting both credibility and a commitment to environmental considerations such as reduced waste and energy consumption compared to traditional print signage. The adoption of digital signage is accelerating globally, although printed signage still represents a significant portion of the industry. Real-world split-flap TV installations across government, retail, and hospitality show how digital signage can enhance customer experience by providing engaging and interactive content, unlike traditional signage which is often less dynamic.
Ready to try it? Start Split-Flap TV’s free 7-day trial on an existing TV. Experience the nostalgic flipping animation and practical scheduling features before committing, and explore blog articles with features, news, and creative split-flap TV ideas to inspire your own setup. Your customers will notice the difference.