Getting Started with Split-Flap TV
Welcome to Split-Flap TV! Whether you’re aiming to give your living room a unique touch, turn your business waiting room into an eye-catching space, or enhance public spaces with interactive displays, Split-Flap TV offers an innovative solution that blends nostalgia with modern digital technology. Below is a comprehensive guide on how to get started with Split-Flap TV and explore the possibilities of installing the app on your TV.
Choose Your Display Device
Split-Flap TV is versatile and can be showcased on various devices including:
- Televisions: Perfect for shops, restaurants, hotels, or offices, bringing clarity and style with a dash of nostalgia.
- Tablets: Ideal for more personalized or interactive setups, such as tabletop displays or reception desks.
- Phones: Great for on-the-go updates or personal use, keeping you connected to your content wherever you are
Download the Split-Flap TV App
To begin transforming your device into a split-flap display, the first step is to download the Split-Flap TV app. Here’s how to do it based on your operating system:
For Apple (iOS) Devices:
Visit the Apple App Store on your device.
Search for “Split-Flap TV” and select the app from the search results, or use this direct link https://apps.apple.com/us/app/split-flap-tv/id6463800065
Click “Get” or “Download” to install the app on your device.
For Android Devices:
Open the Google Play Store on your device.
Search for “Split-Flap TV” or use this direct link https://play.google.com/store/apps/details?id=com.app.splitflaptv
Select the app from the list and tap “Install”.
For Android devices, you can use this hardware:
- A television running Google TV as the operating system
- A television running Android TV as the operating system
- Or any other television brand or model where you connect an external Android player. A good example of an external Android Player is Google’s Chromecast device.
- If your Android device does not have the Google Play Store (plain Android operating system) then you can also install the APK directly on the device. This step is more for technical people.
Launch the app
The next step is to launch the Split-Flap TV app on your display device, which is your television, tablet, or phone. It will show the Split-Flap TV intro video like this.
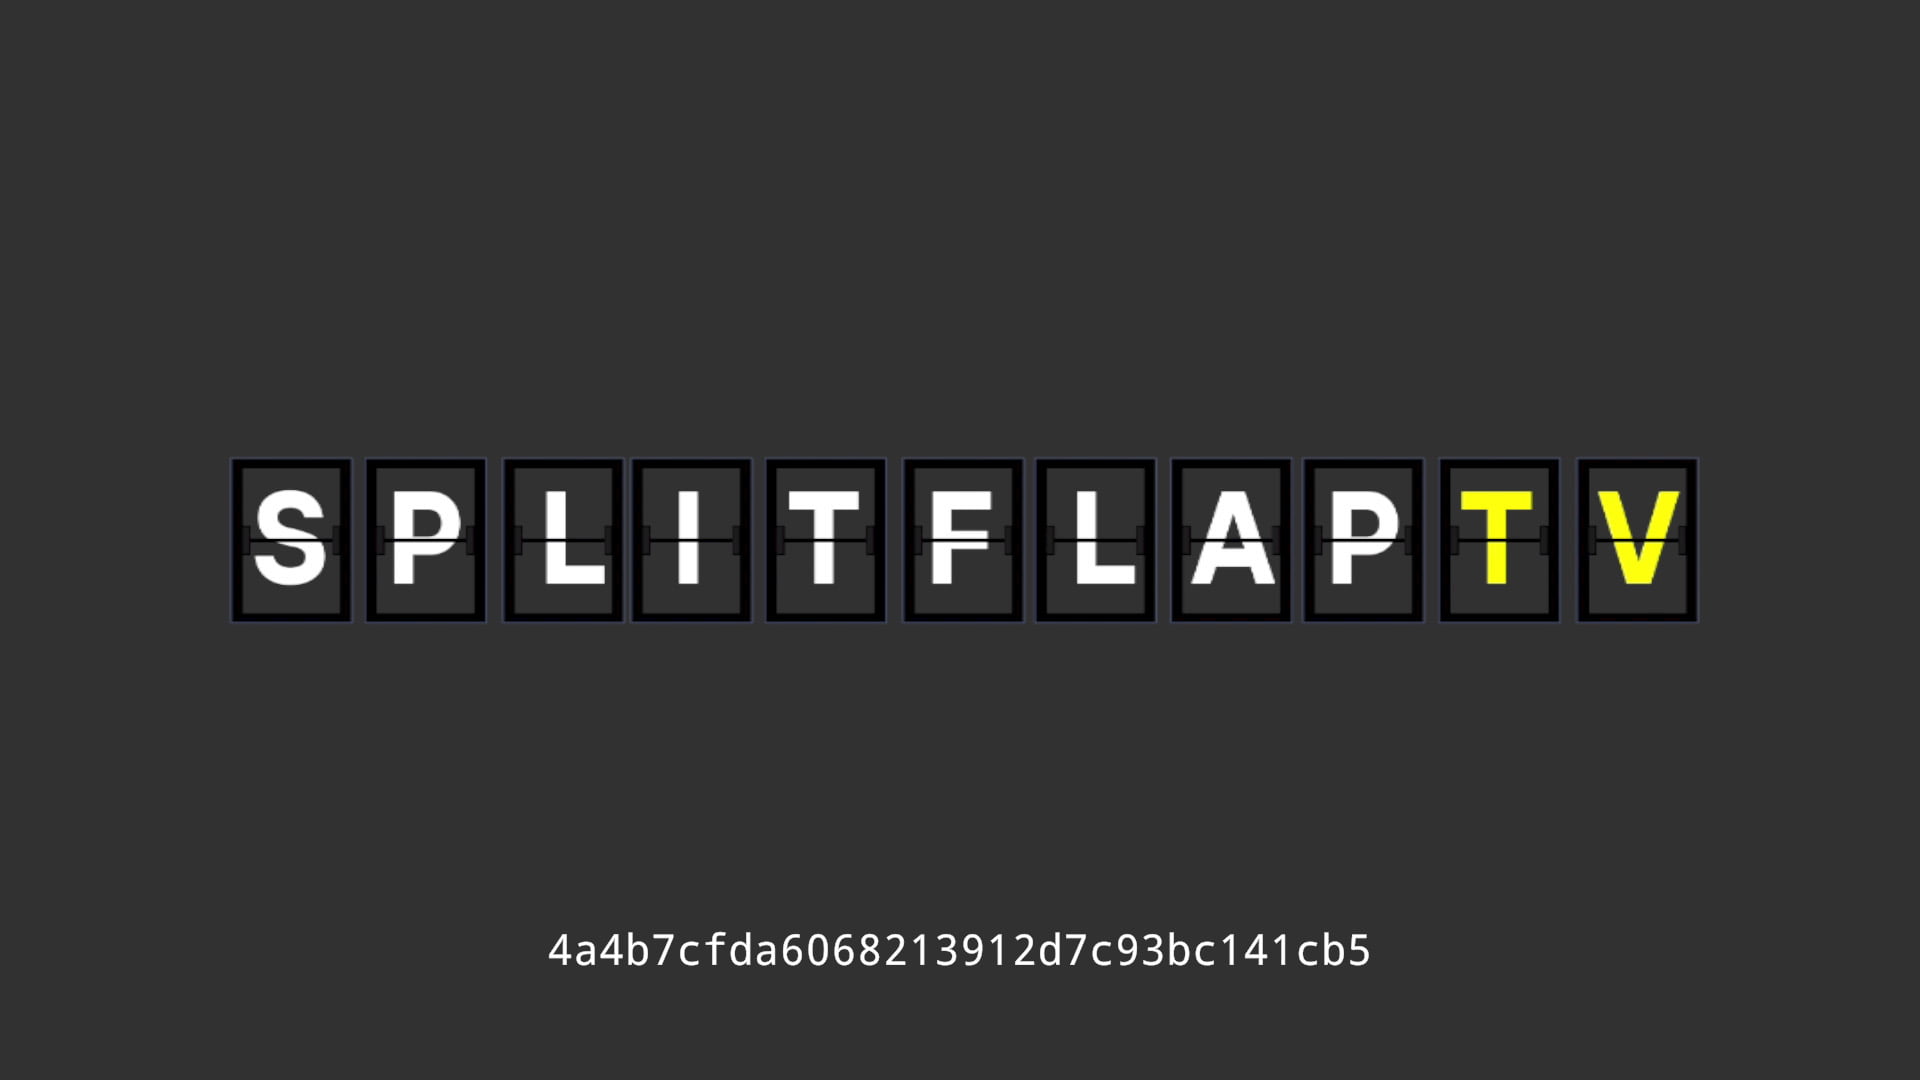
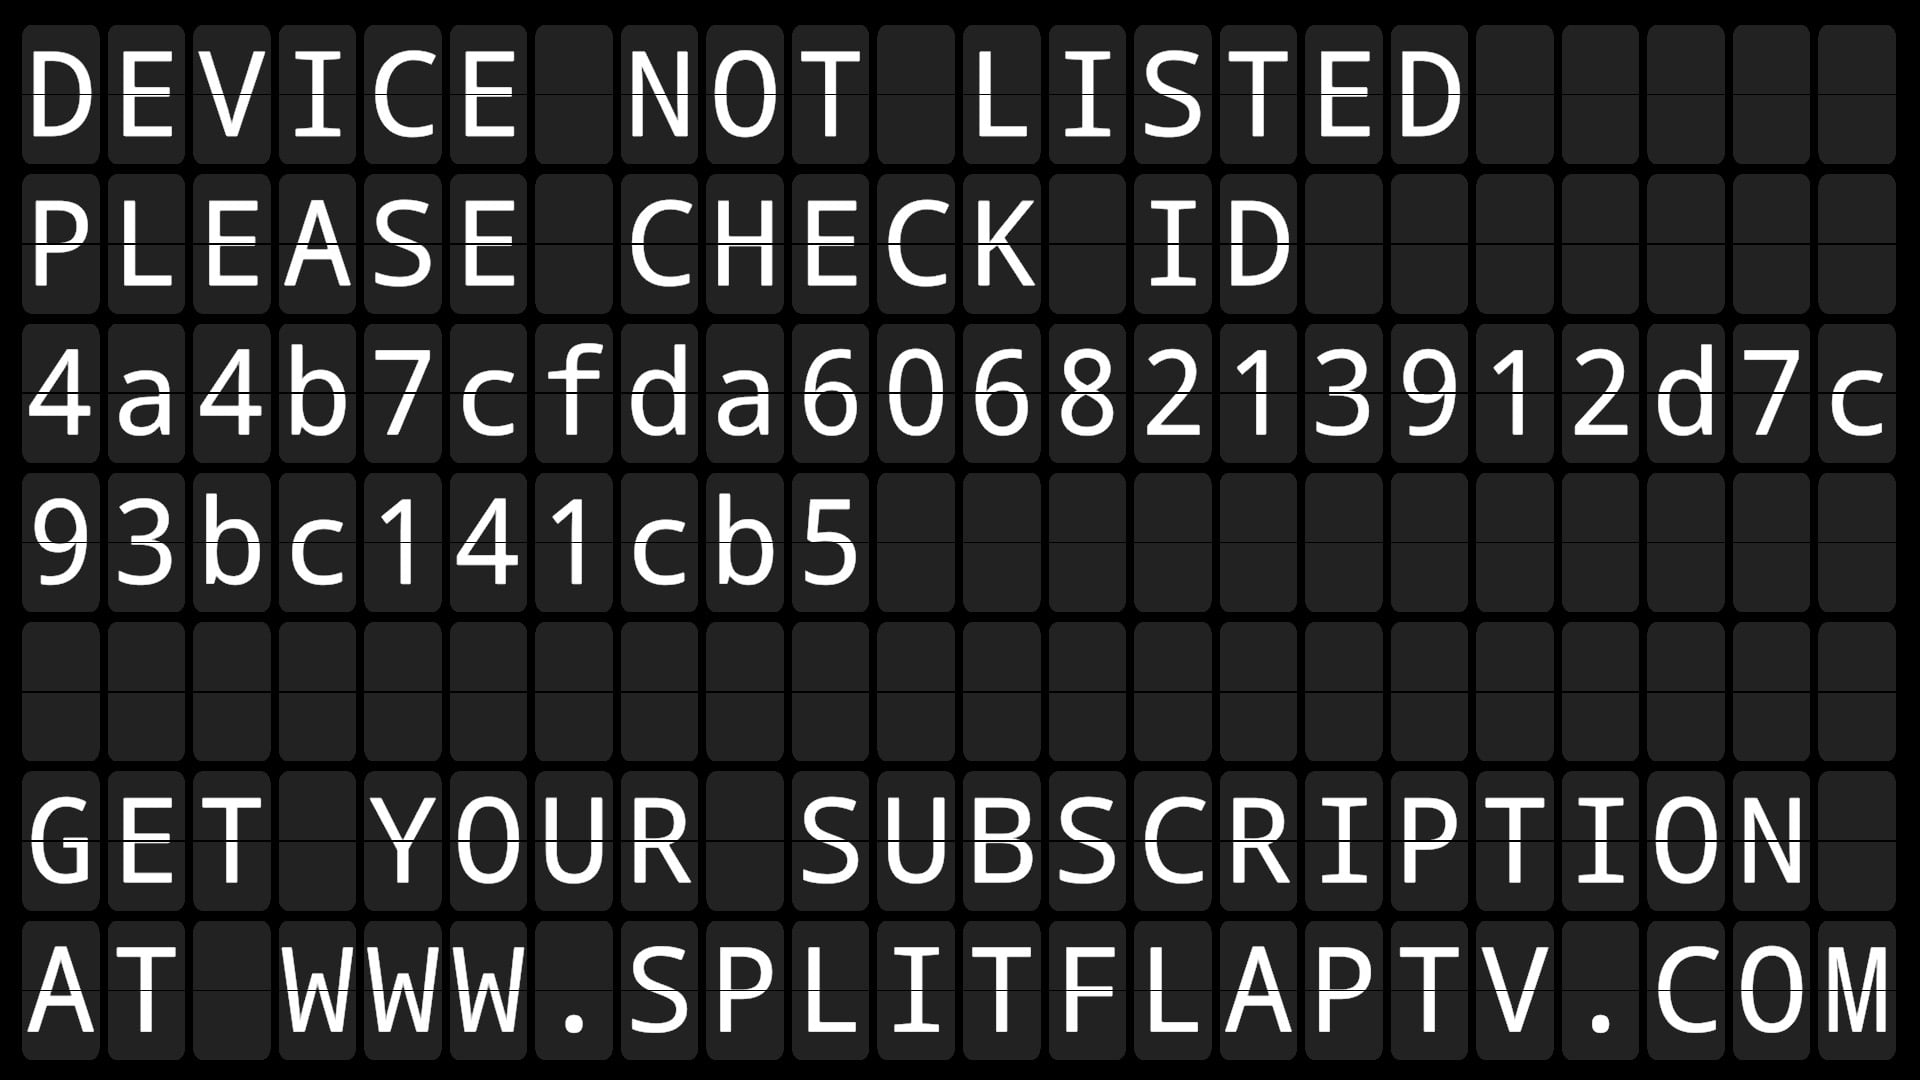
Each display device has a unique device id. Let’s call this the license plate of your display. We need to know your device id so that we can link your display to your Split-Flap TV account. Please carefully not your device ID. There is probably no need to tell you that the device ID should be exact, so please double check your ID.
Connect Your Display Device
Your app is running on your display, and we know the device id. Let’s go over to your Split-Flap TV account on your computer. Open a browser and visit www.splitflaptv.com.
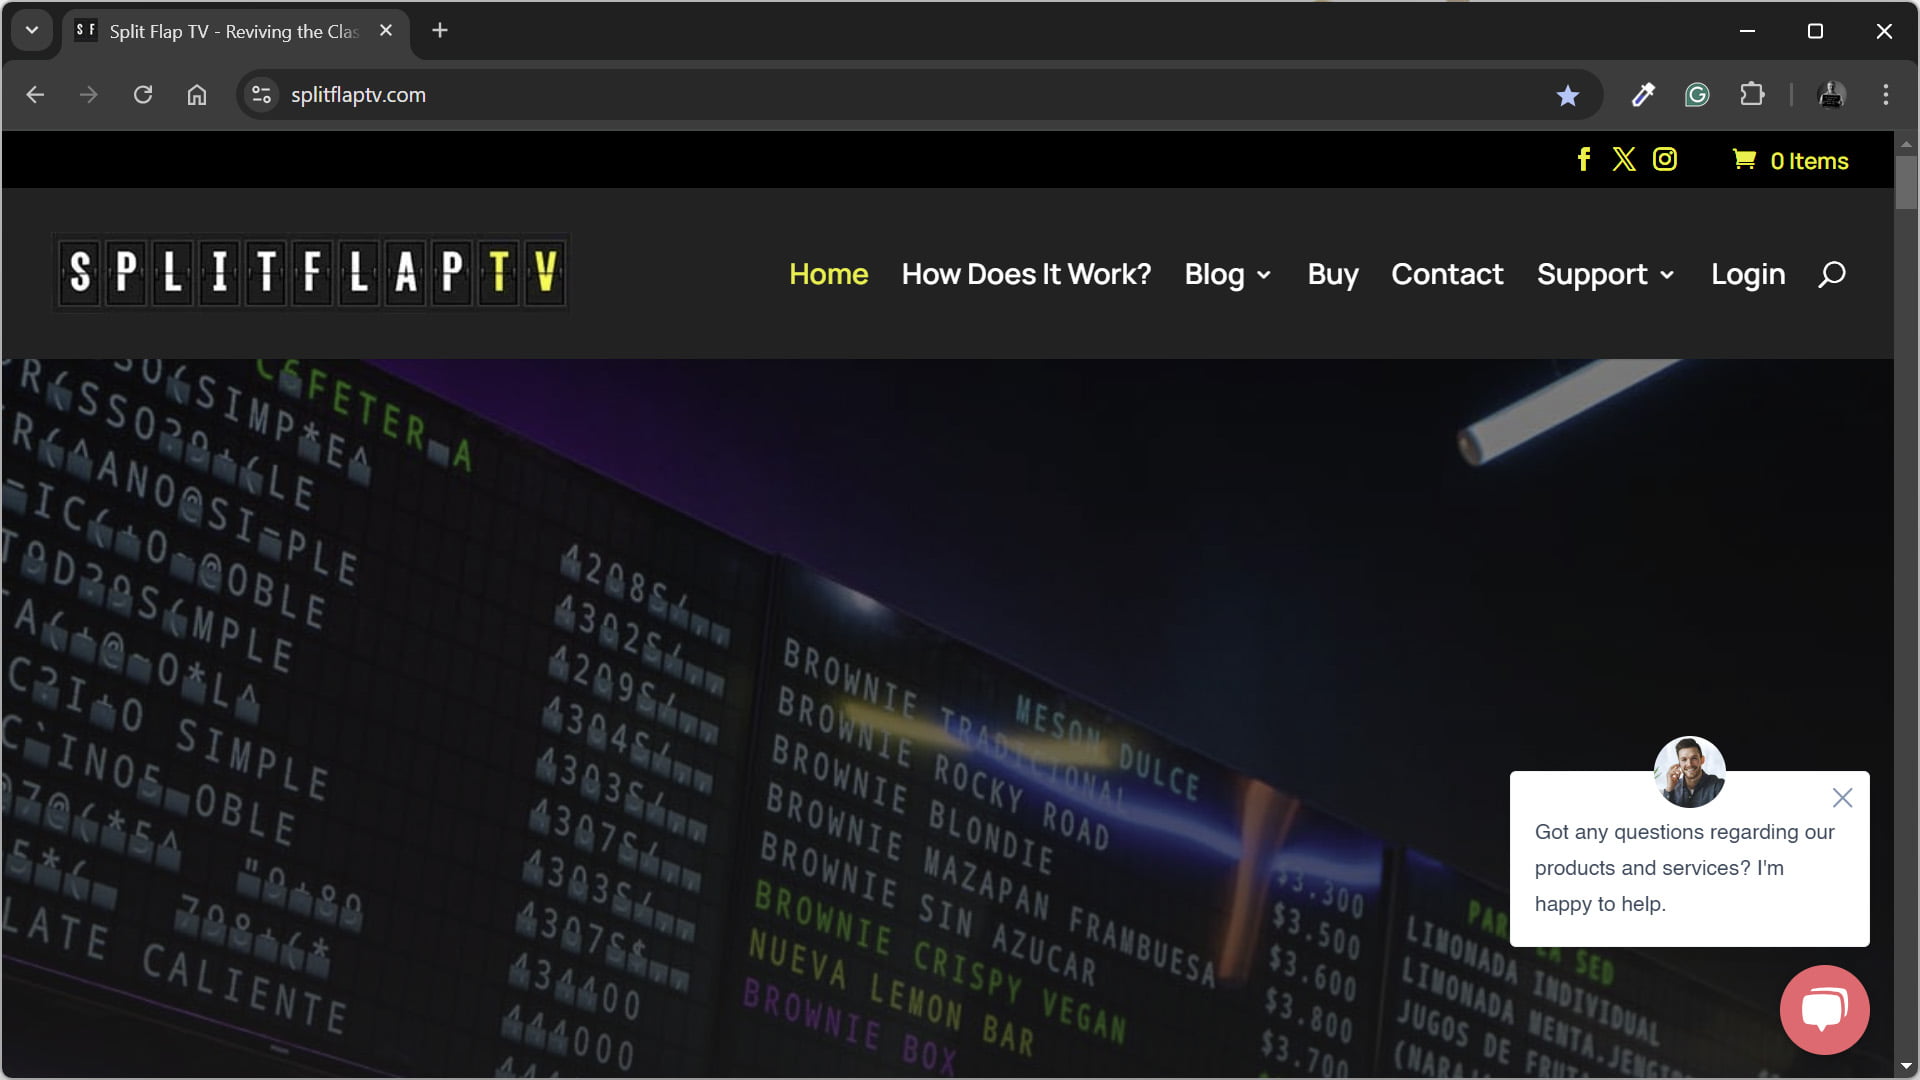
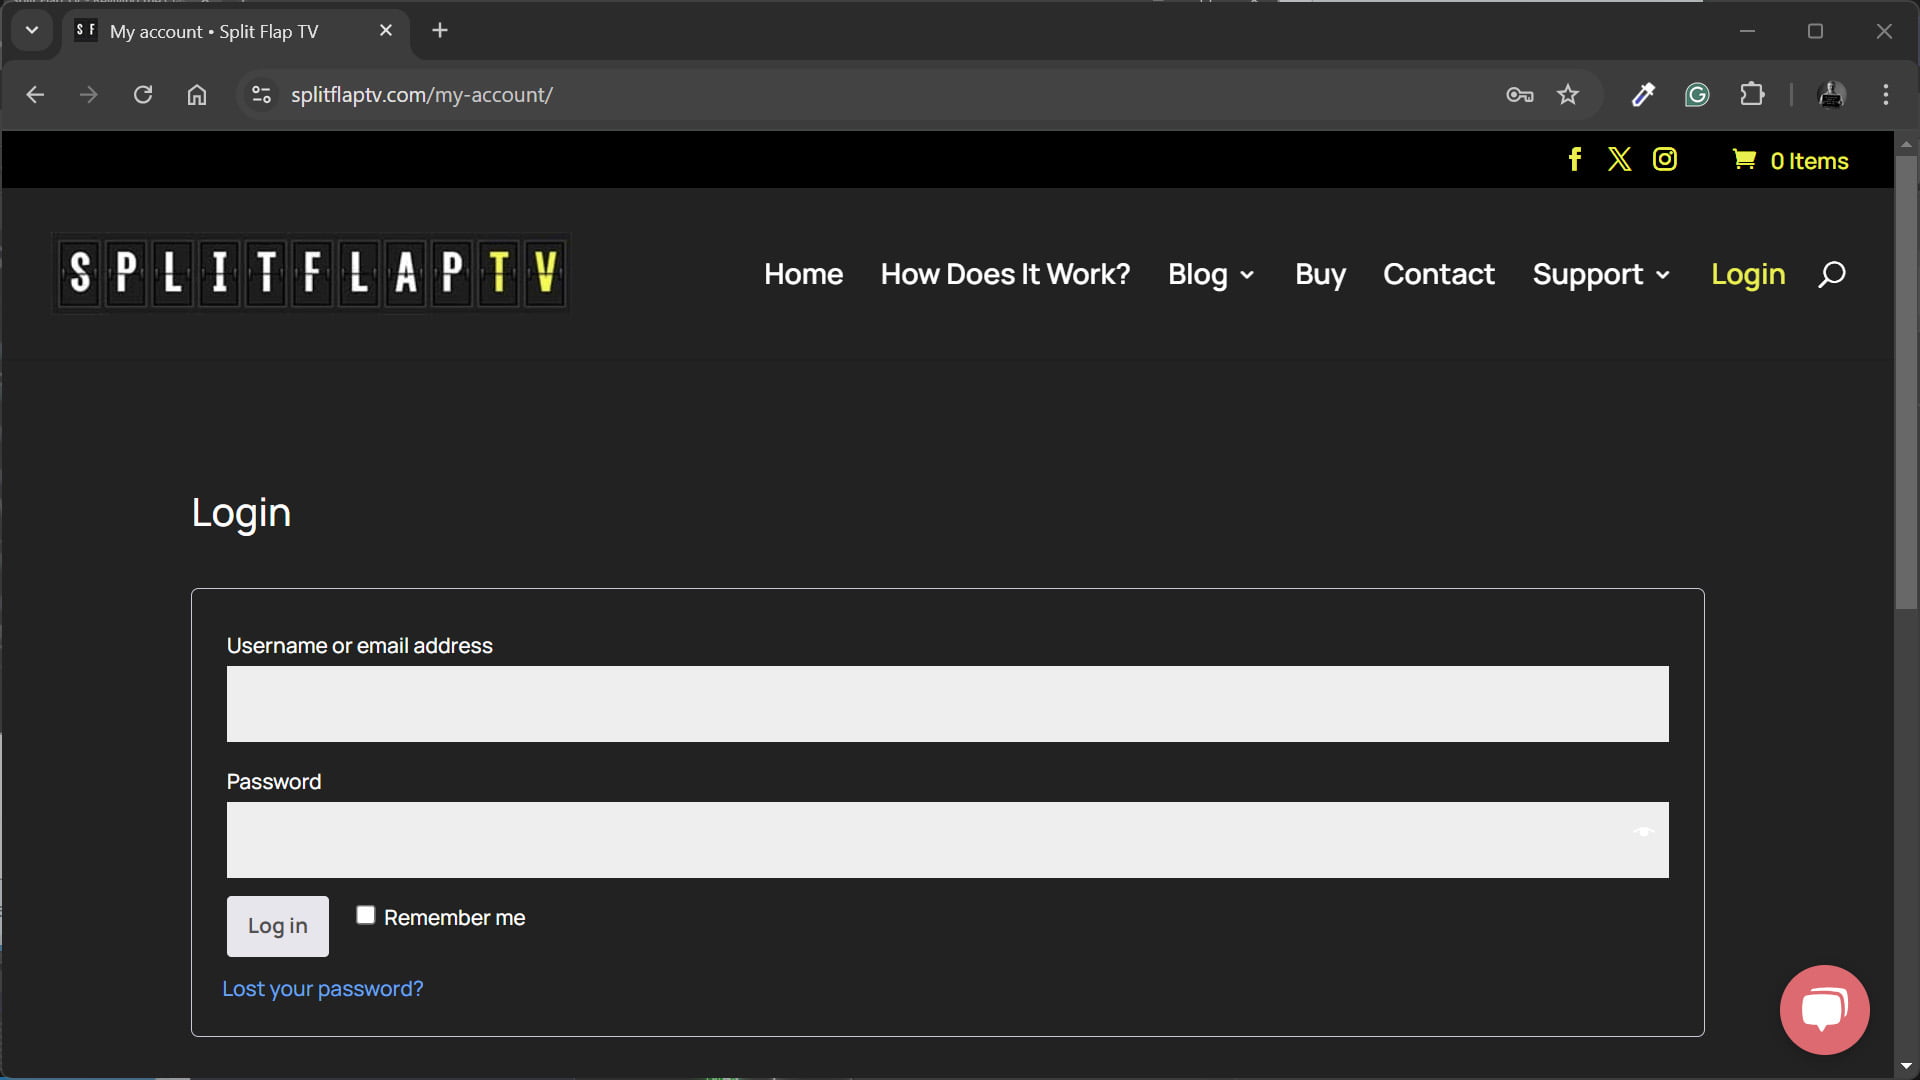
From the top menu, click the Login option and enter your username and password. You should have a login because you probably requested a trial before. In the event that you don’t have a trial yet, please take on at our shop.
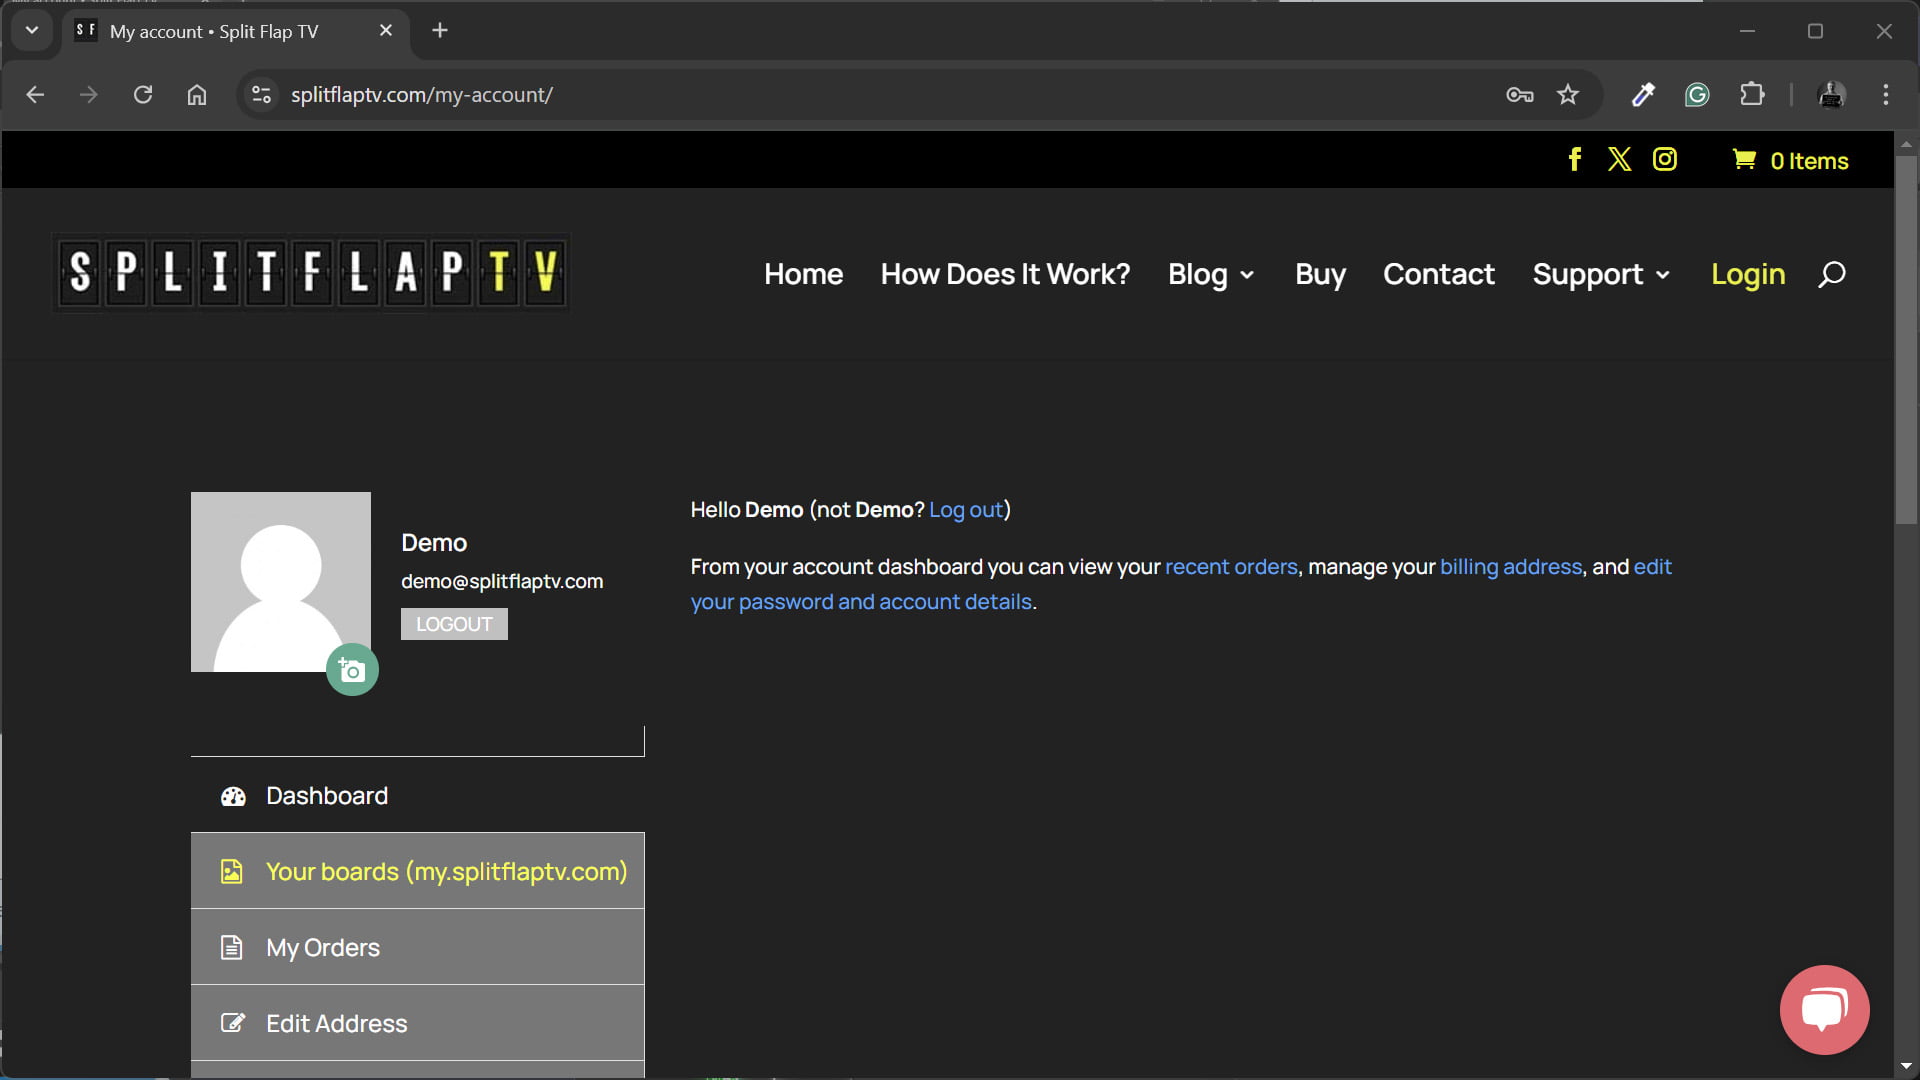
You are logged in and you arrived at your Split-Flap TV account. Here you can view and manage your orders, subscriptions and invoices. For now, please click the Your boards (my.splitflaptv.com) option.
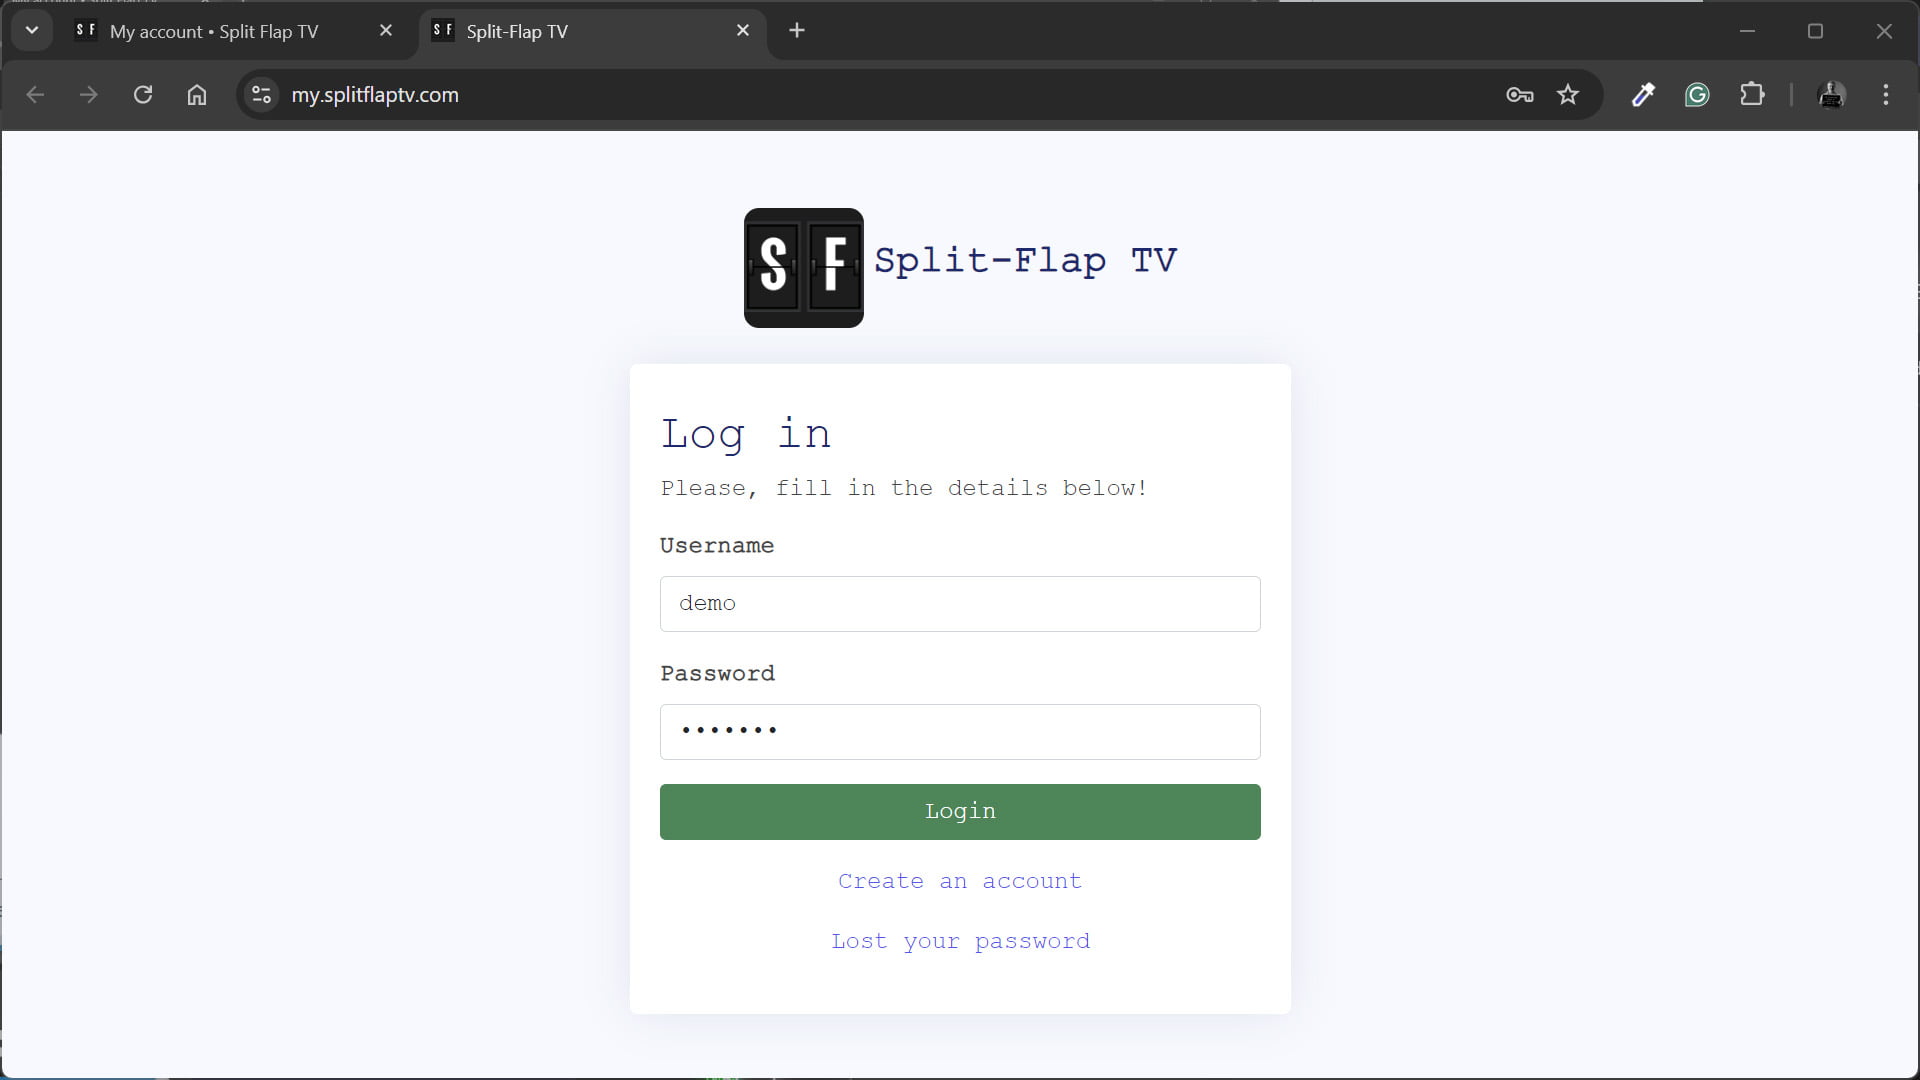
Log on again with the same username and password to manage your Split-Flap TV content. This is your Split-Flap TV content management system.
From this dashboard, you can see that you have 1 device on your account. This is your demo account and is valid for 7 days.
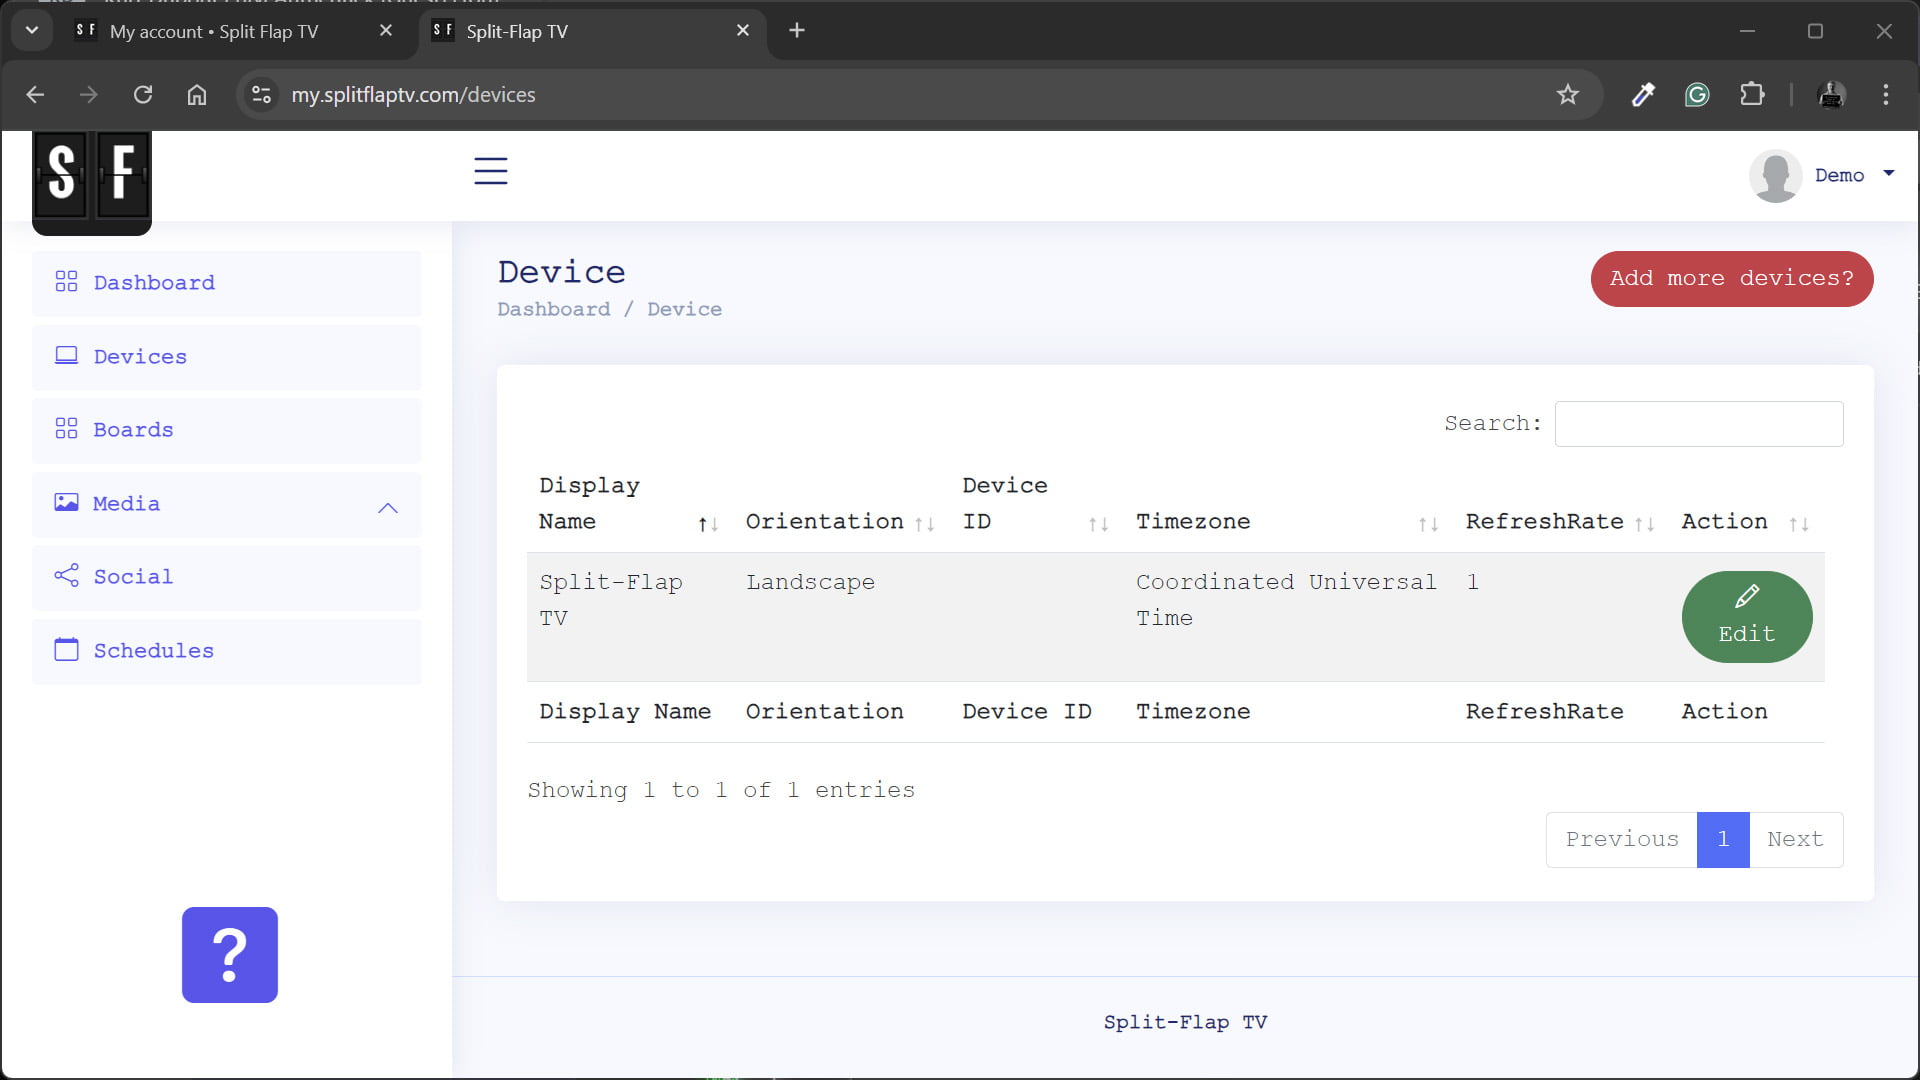
Click the Devices option from the menu on the left.

Here you see a list of all the devices of your account. For this demo, you only have one here. Eventually more can be added here. You will need to buy a subscription for every Split-Flap TV board you want to manage.
Click the green Edit button to open the details.
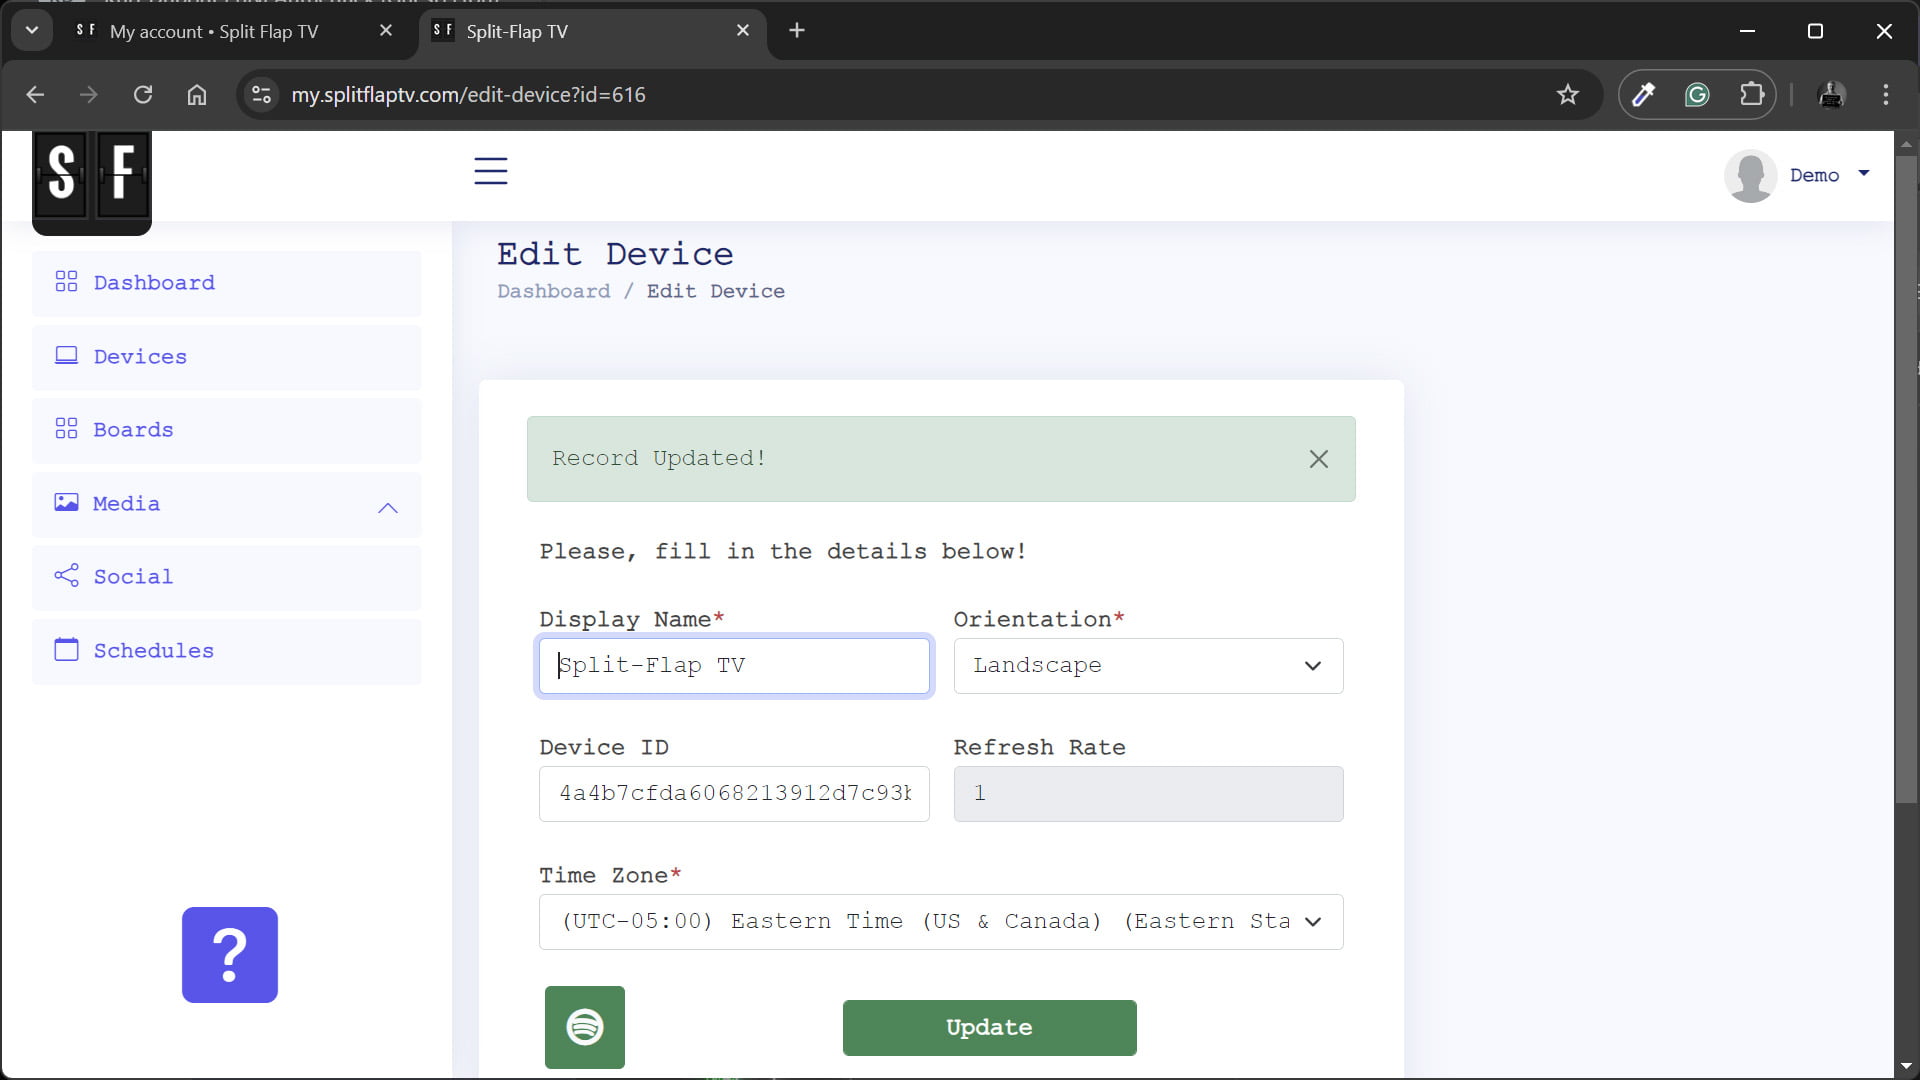
Now enter the Device ID that we captured from our display at the Device ID field. Also verify and choose the time zone of where your display is located. This time zone setting is important for scheduling when we send a board to this display.
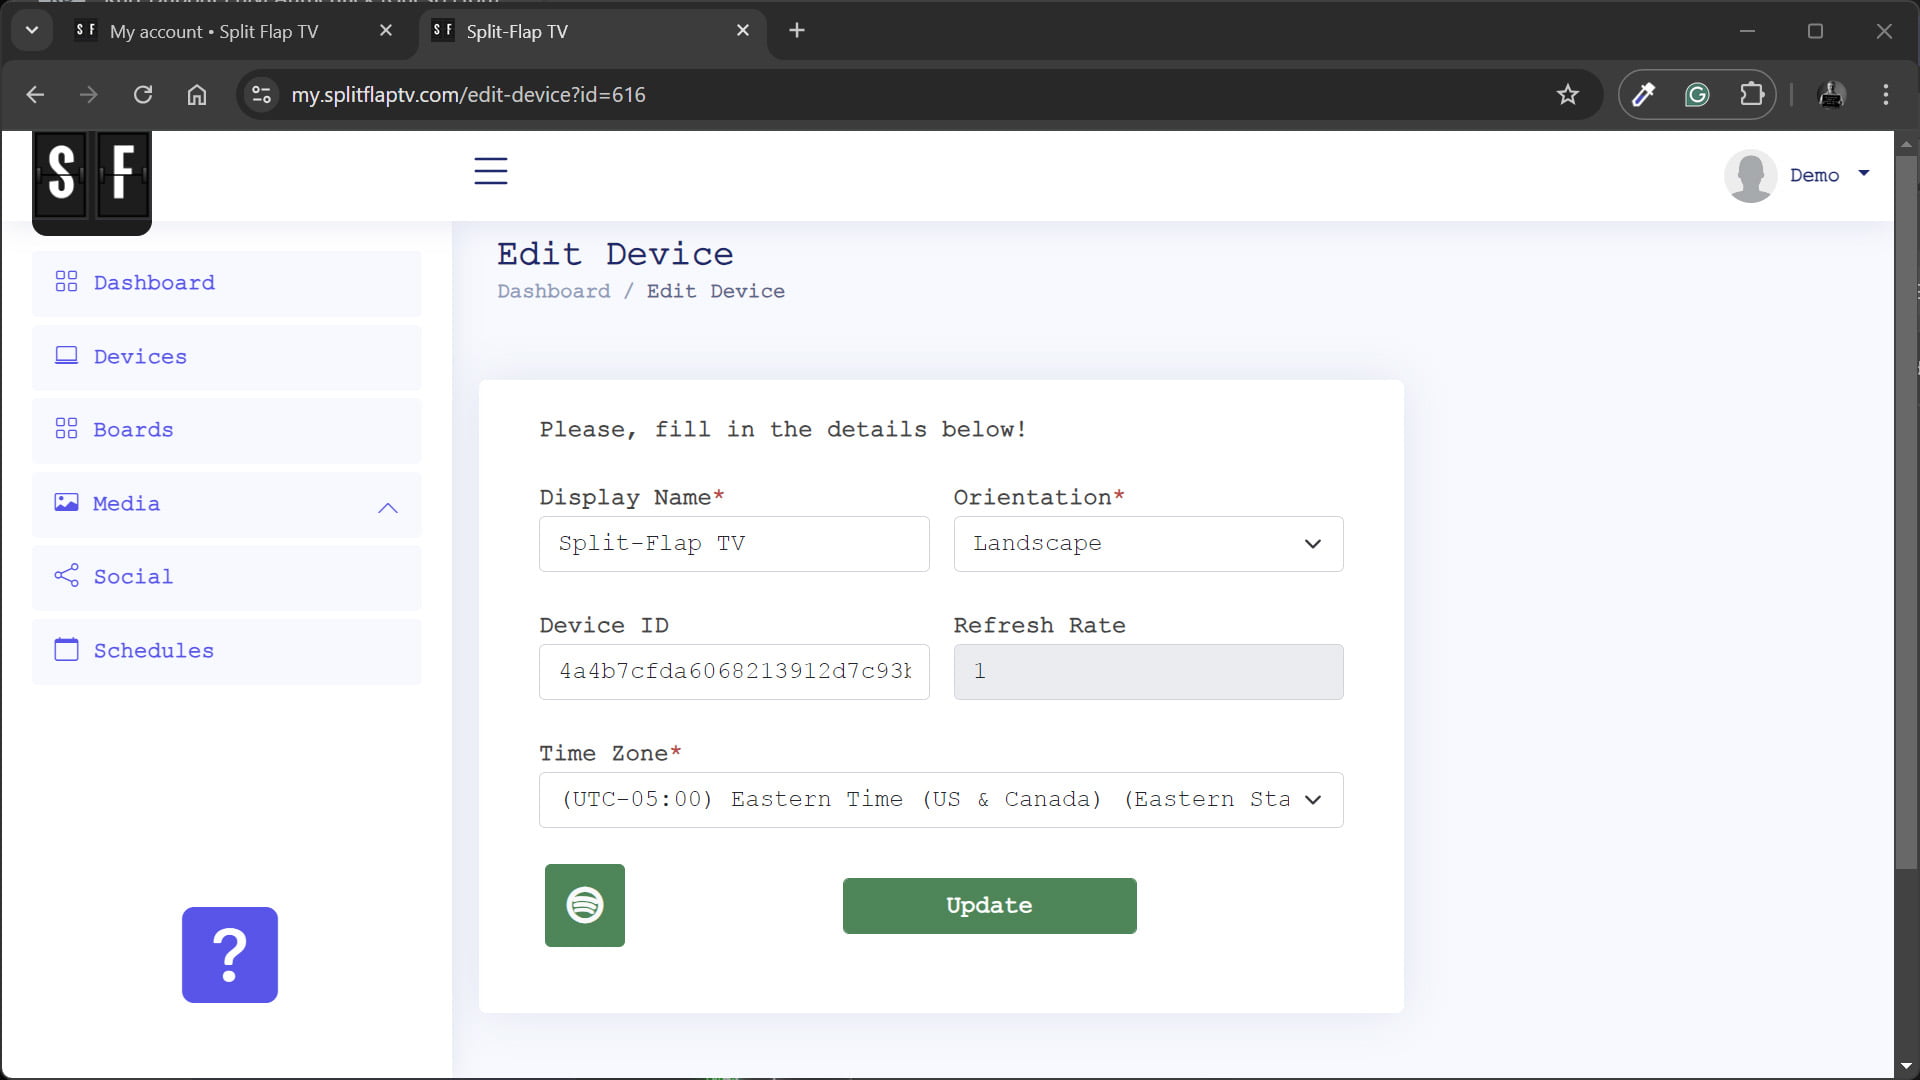
Click the Update button to save the changes to your account. When done successfully, a Record Updated! message will occur.
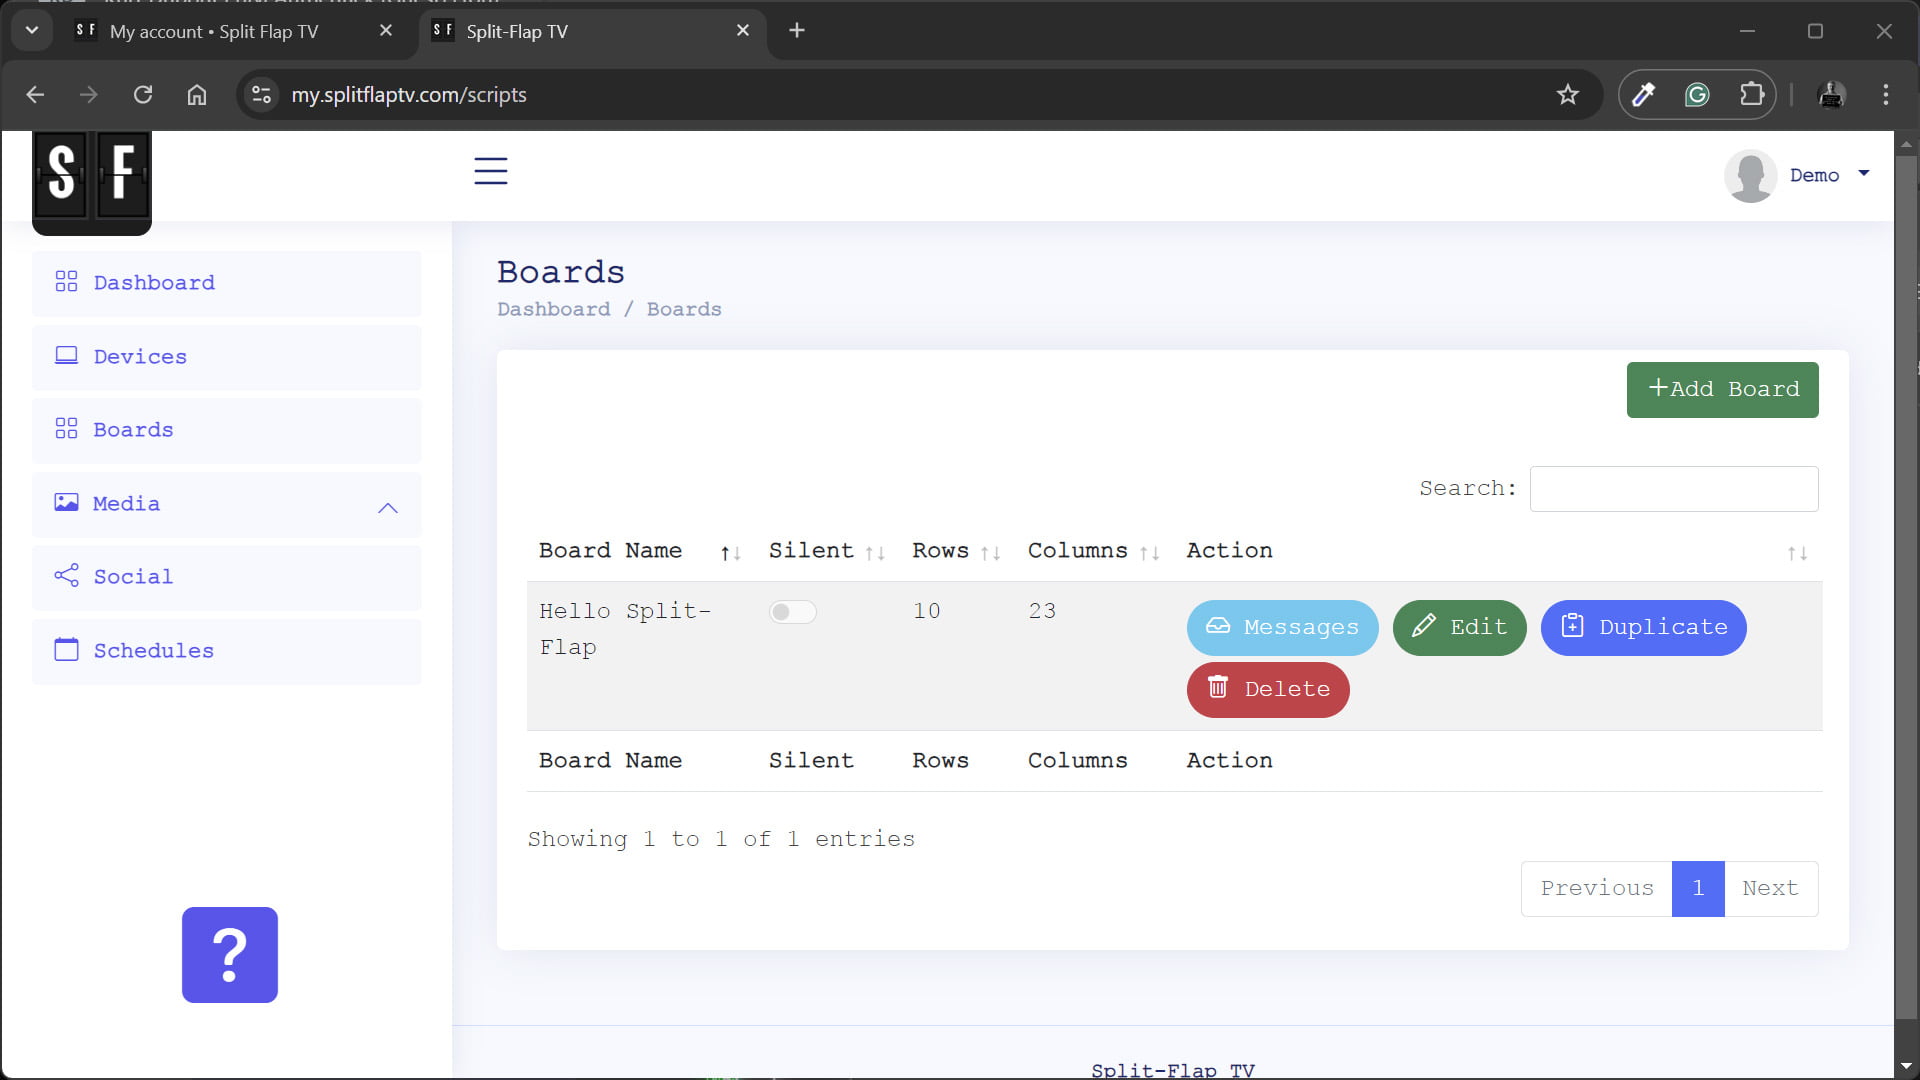
Let’s quickly browse the app here. Click on Boards again from the menu on the left, and you will find a sample board that we created for you. This is a text board with 10 rows and 23 columns, and it contains some 5 pages or messages.
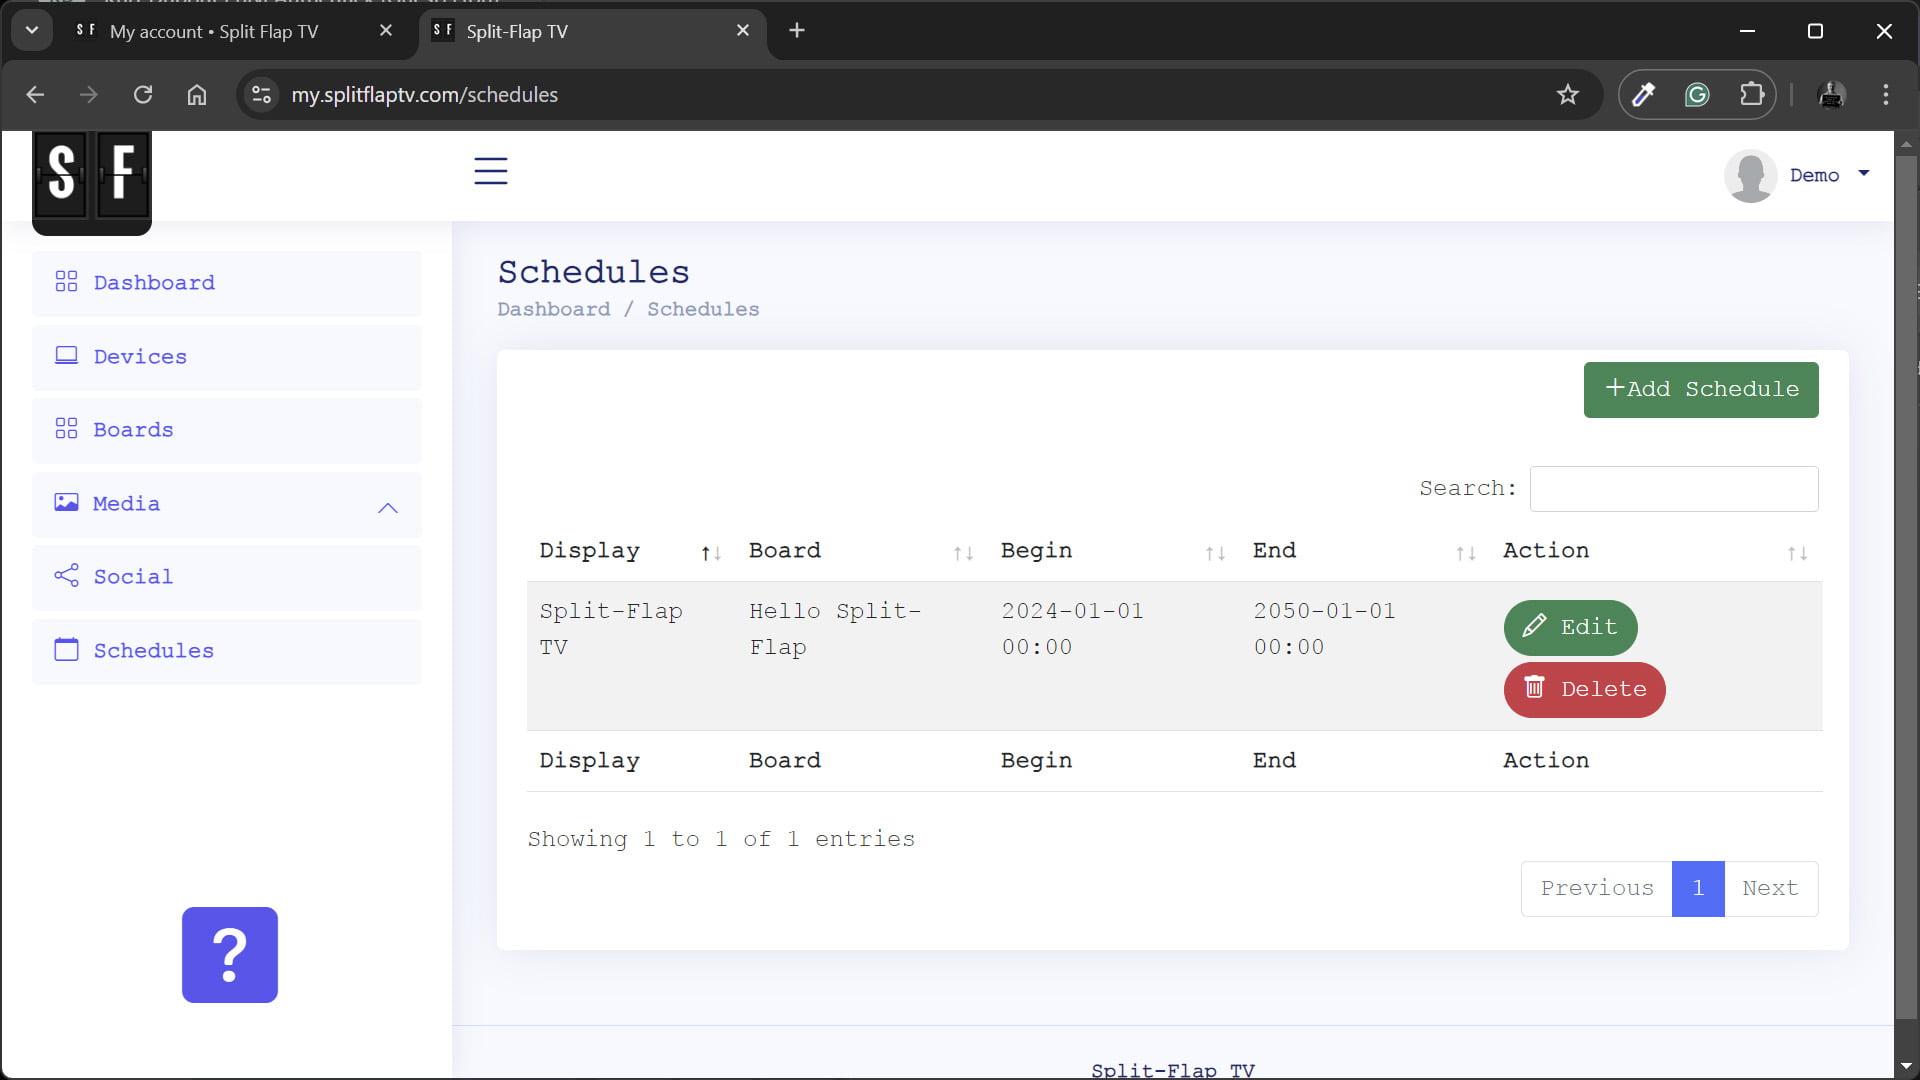
Also important are the Schedules. Click Schedules from the menu and you will a default allocation of your demo board to your display device.
All this information was created for you.
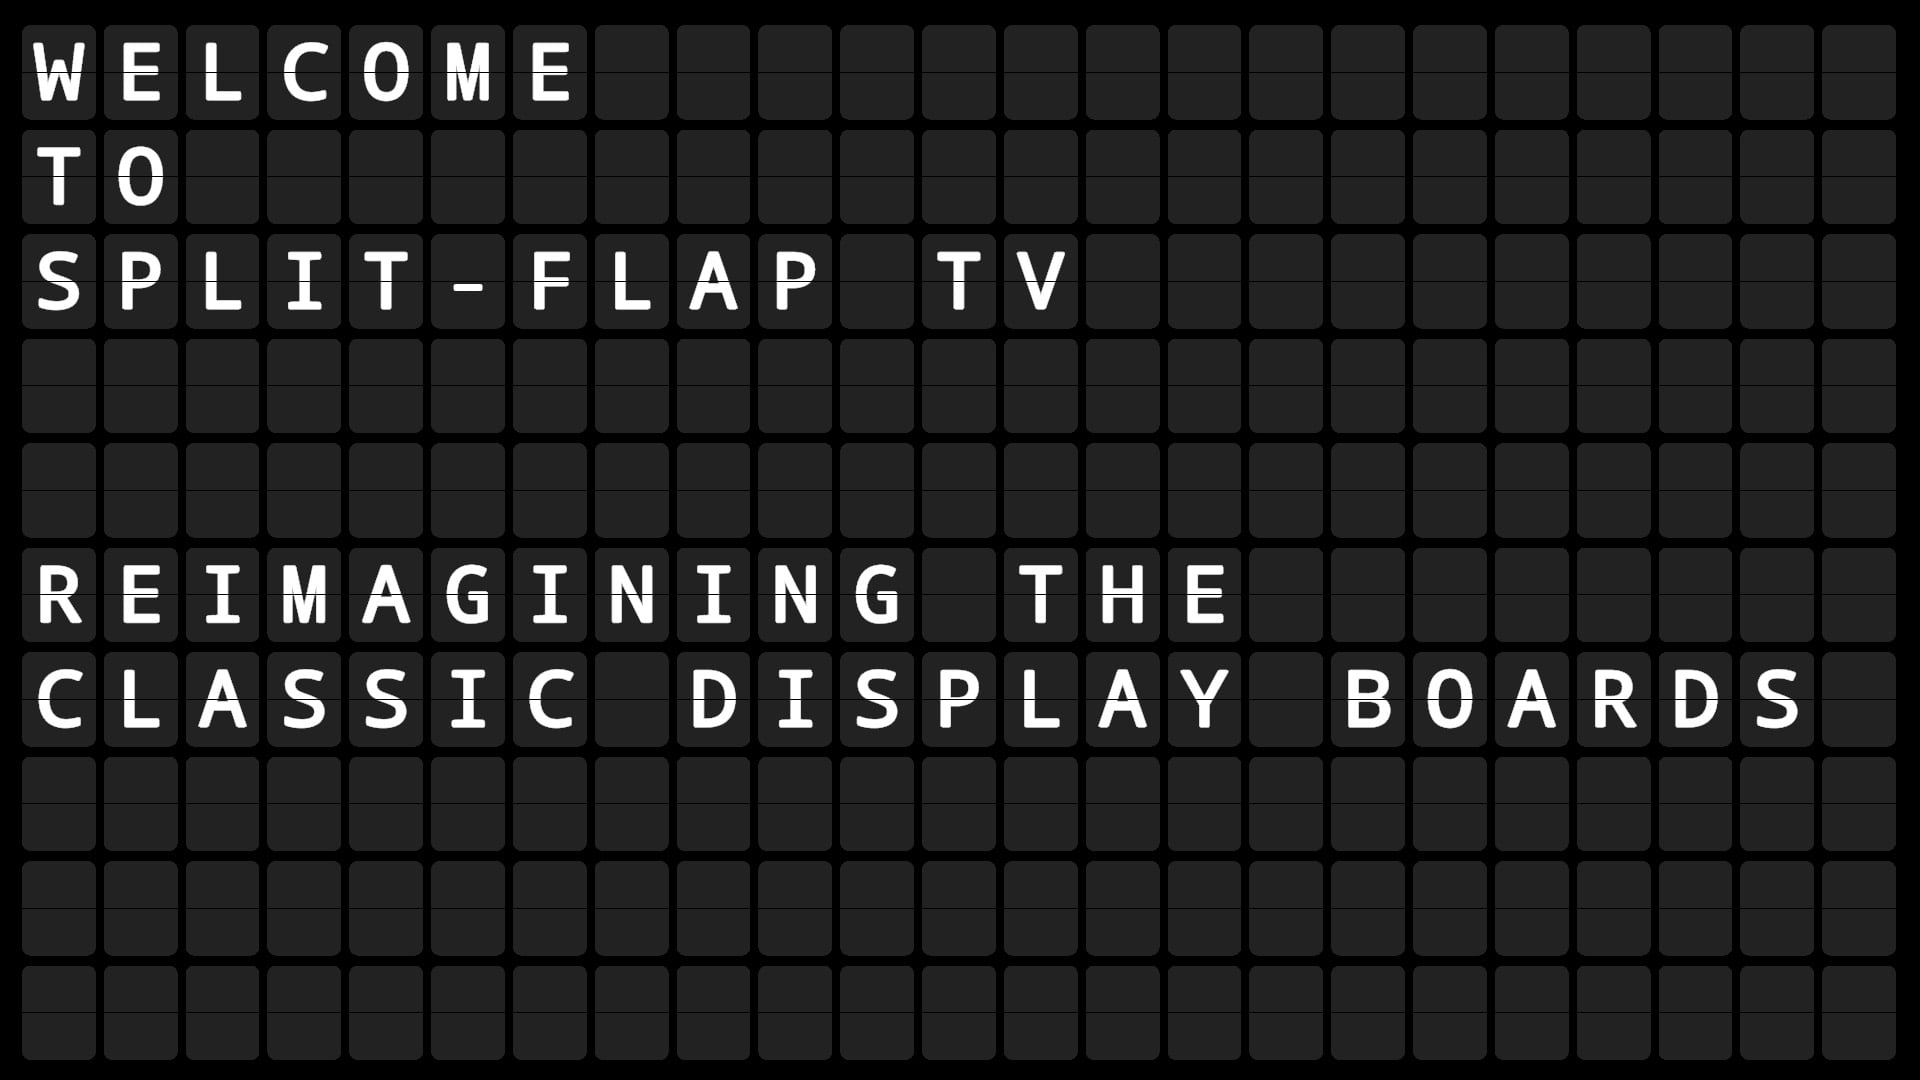
OK. We have entered the device id and your app should be showing this demo sample board already on your screen. When your display is still showing the welcome text with your device id, then please make sure that your trial period of 7 days is not yet expired, and double check that you made no mistake with your device id.
When everything is processed well, your display should be showing this info and more.
Create Your First Board
Your display is operational now and showing our welcome message. Let’s create your first board with your own text.
Click Boards from the menu on the left.
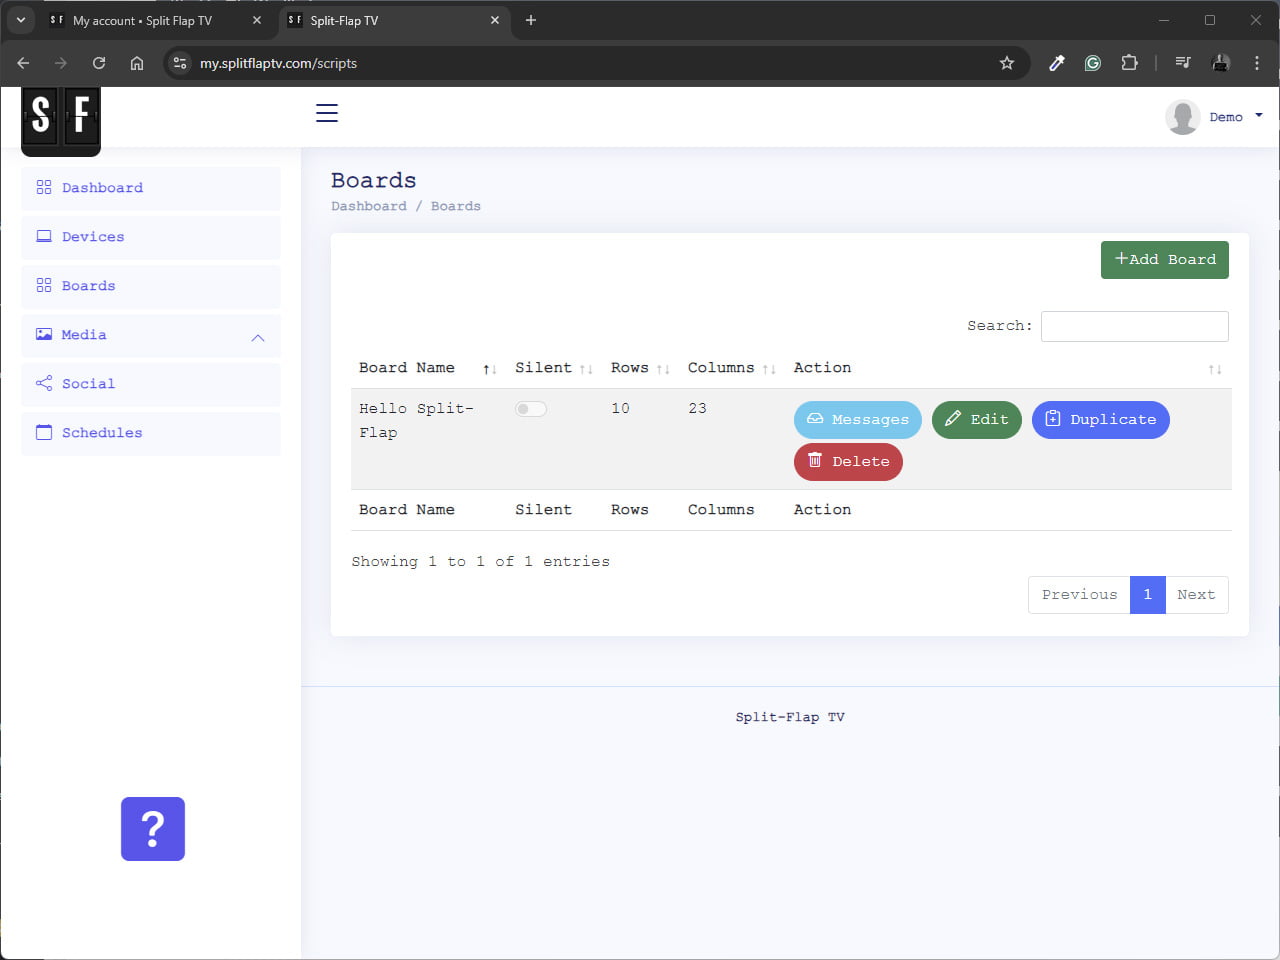
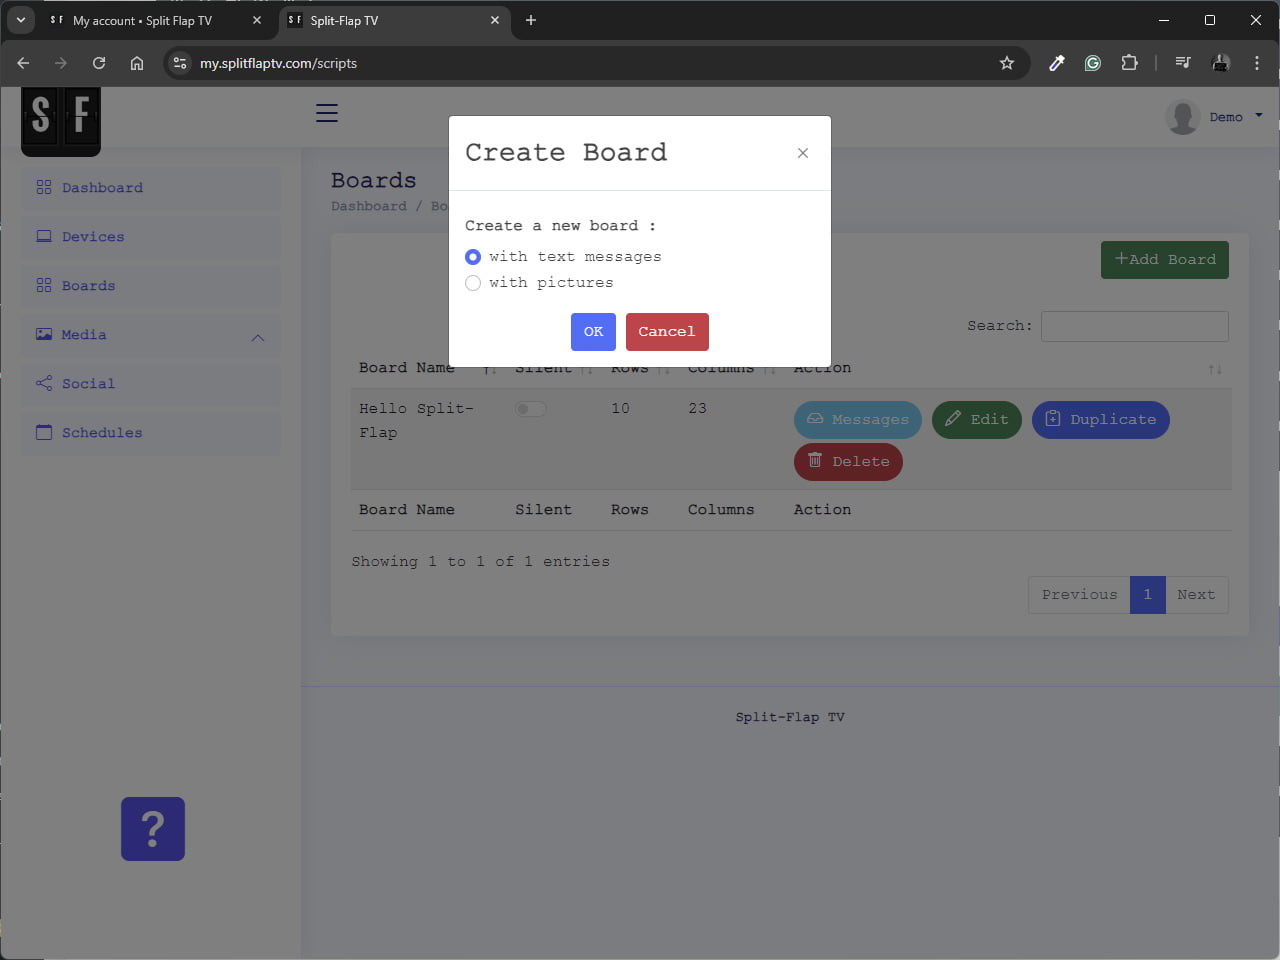
First you need to choose if you want to have a board with text messages or with pictures. We choose the with text messages option.
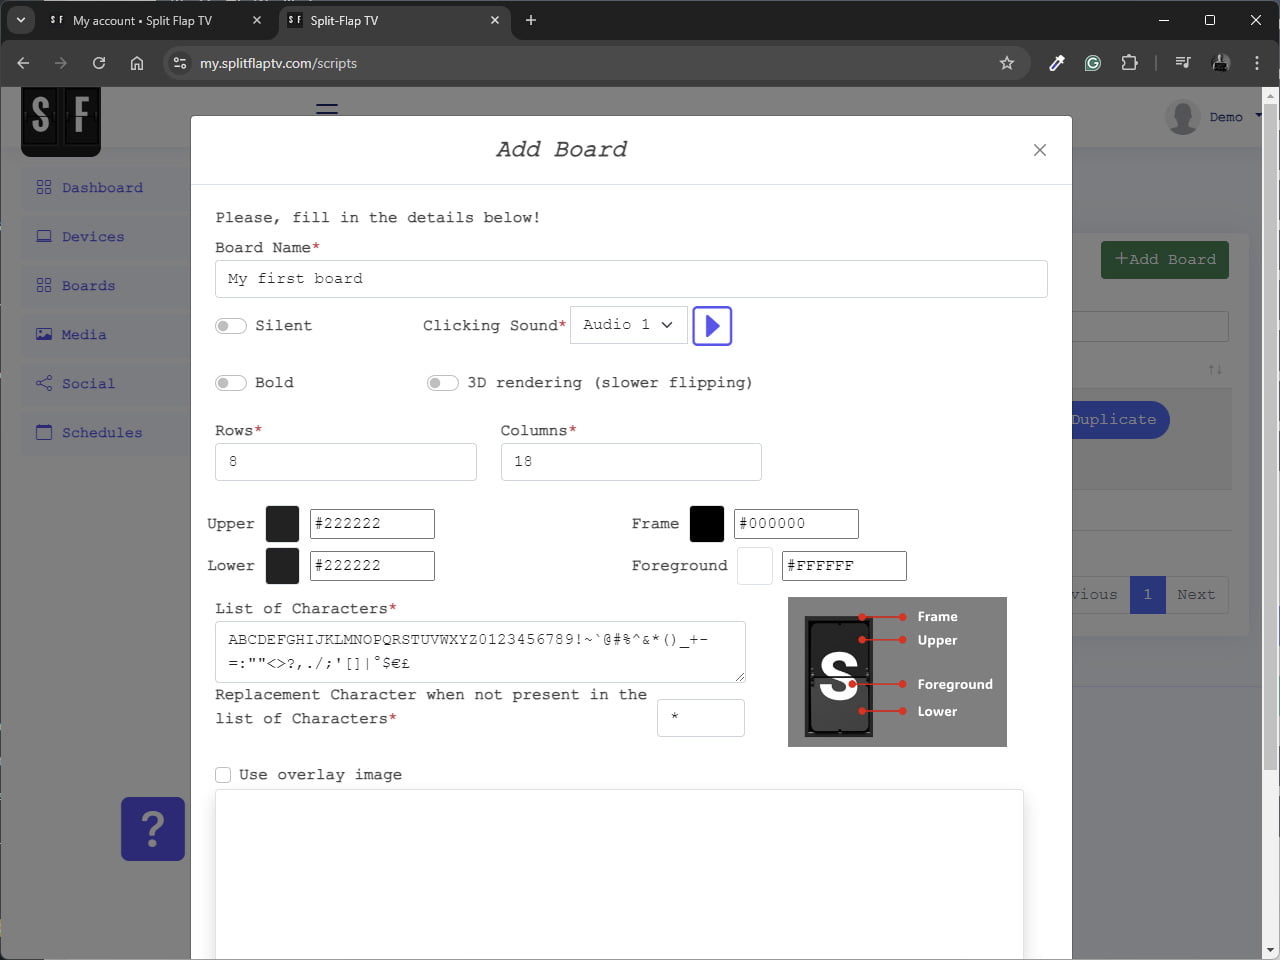
Name your board and choose the clicking sound options. Furthermore, you can choose to display the text as normal or bold, and you can opt for 3D animation which is slower than normal animation.
Also, set the desired number of rows and columns. Note that the number of rows and columns counts for all messages or pages in this board.
For the coloring, you have 4 options to set. You can choose a color for the upper part of the flap, and another or the same color the lower part of the flap. The border or frame color can also be chosen, as well as the default text color.
Finally, you can set or change the number of characters shown on your flaps. The more characters you have here, the longer the flipping animation will take on your board.
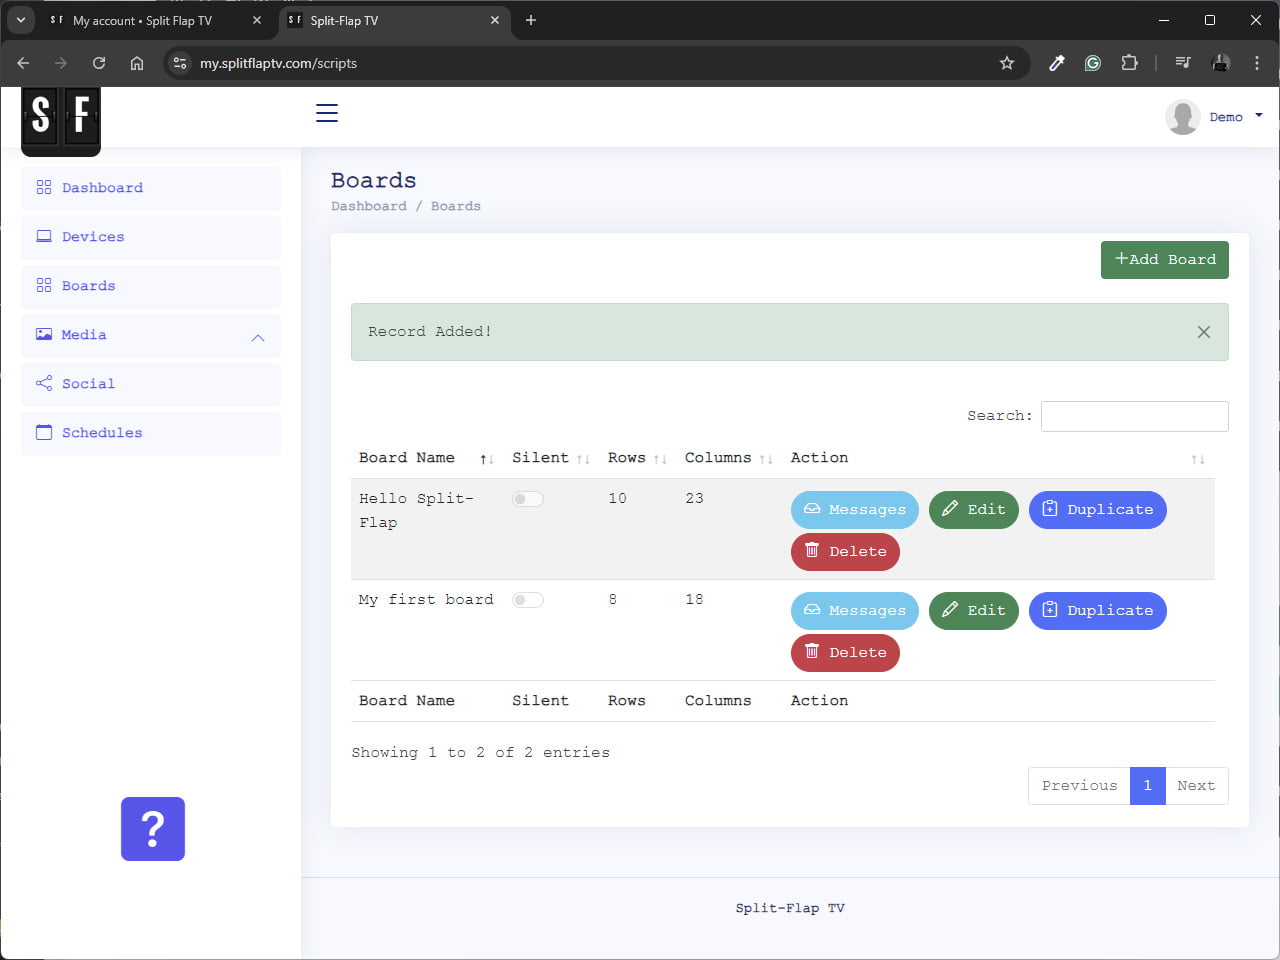
Click the Update button and your board is added to your account.
To add messages or pages to your board, click the Messages button.
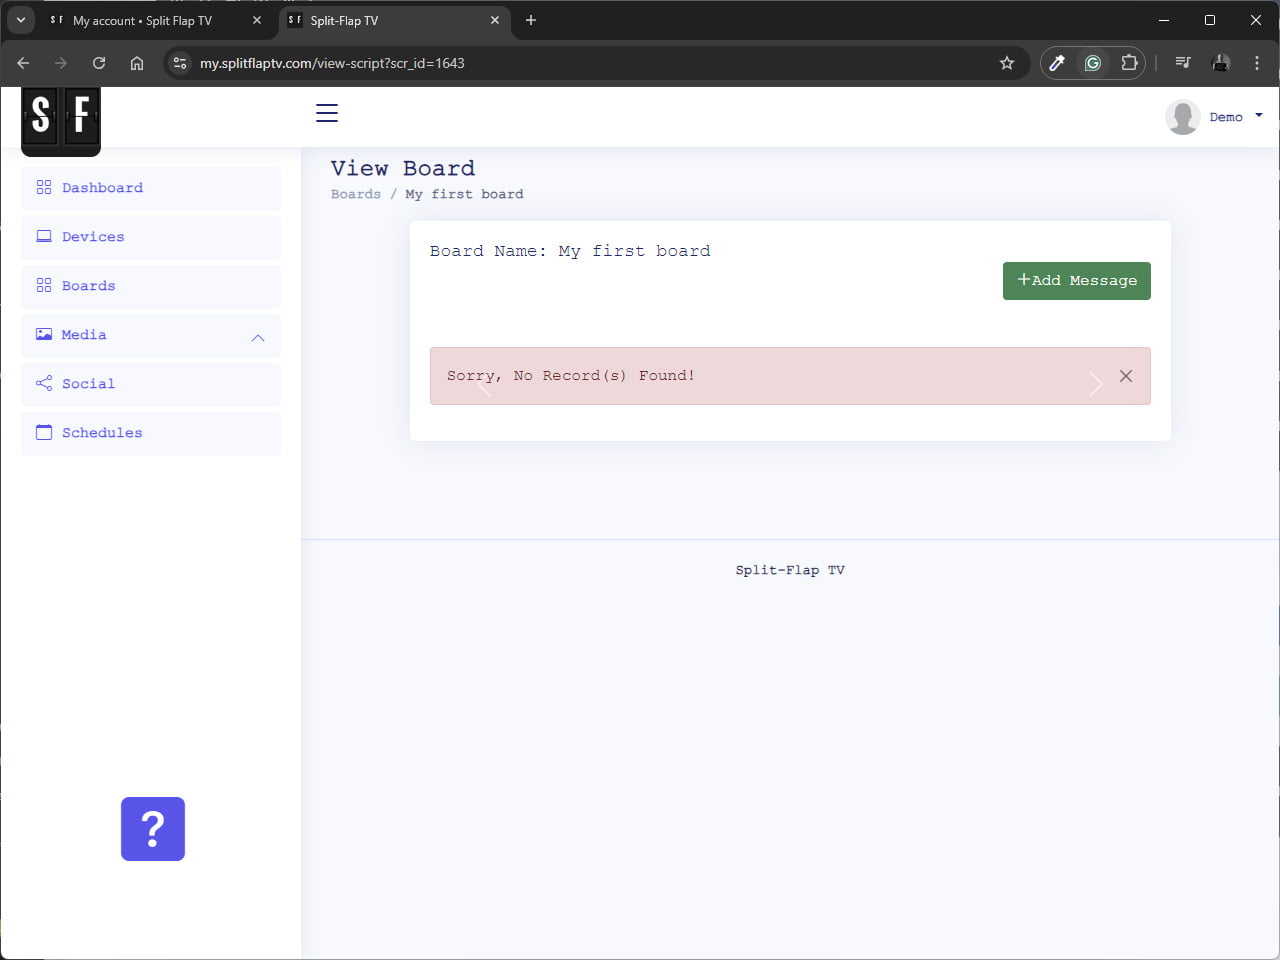
Next click the Add Message button.
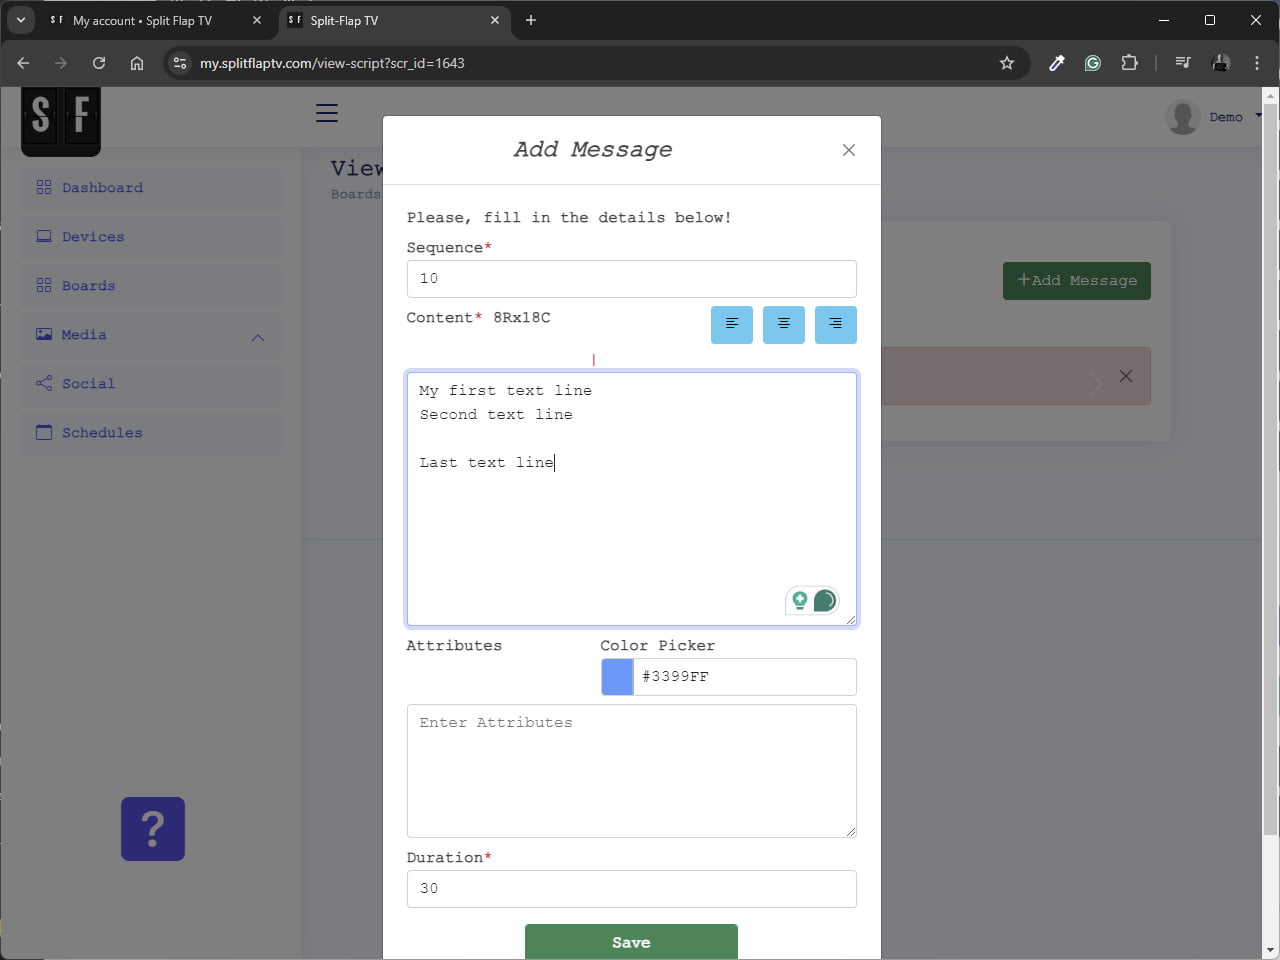
The sequence sets the order of the pages within your board. We use increments of 10, but you can also choose using increment values of 1. With increment values of 10, you can easily move another message as sequence 15 in between sequence 10 and 20.
Enter the text that you want to show on this page. Keep the number of rows and columns in mind. You need to use ENTER to go to a new line.
The attributes field is there is you want to color a specific line of text. All text is colored in the text color that you have chosen, but here on e.g. the third line, you can set a different HEX color value to display your third text line in that other color.
Finally you can choose how long this message is shown (in seconds).
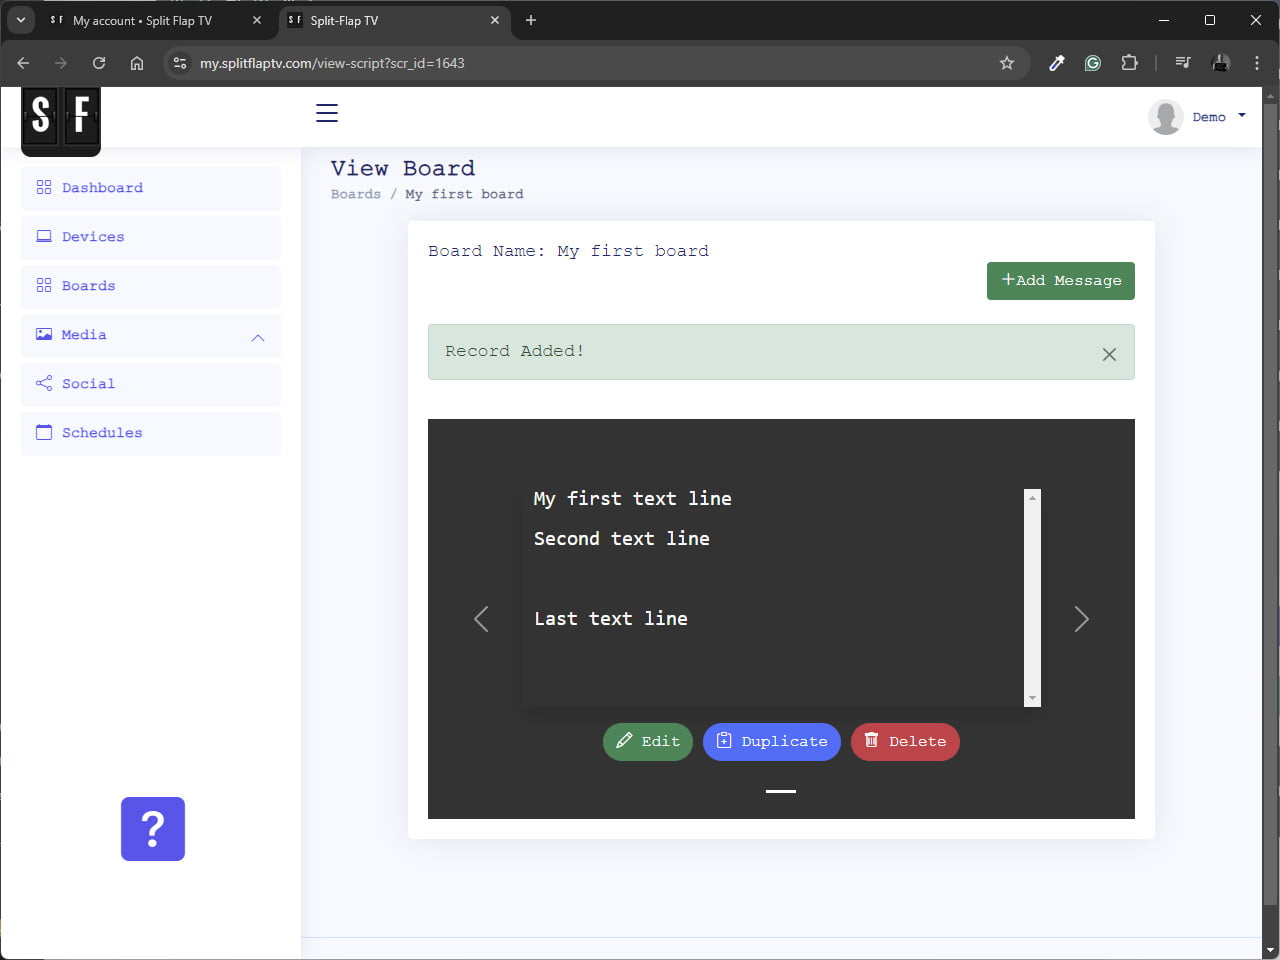
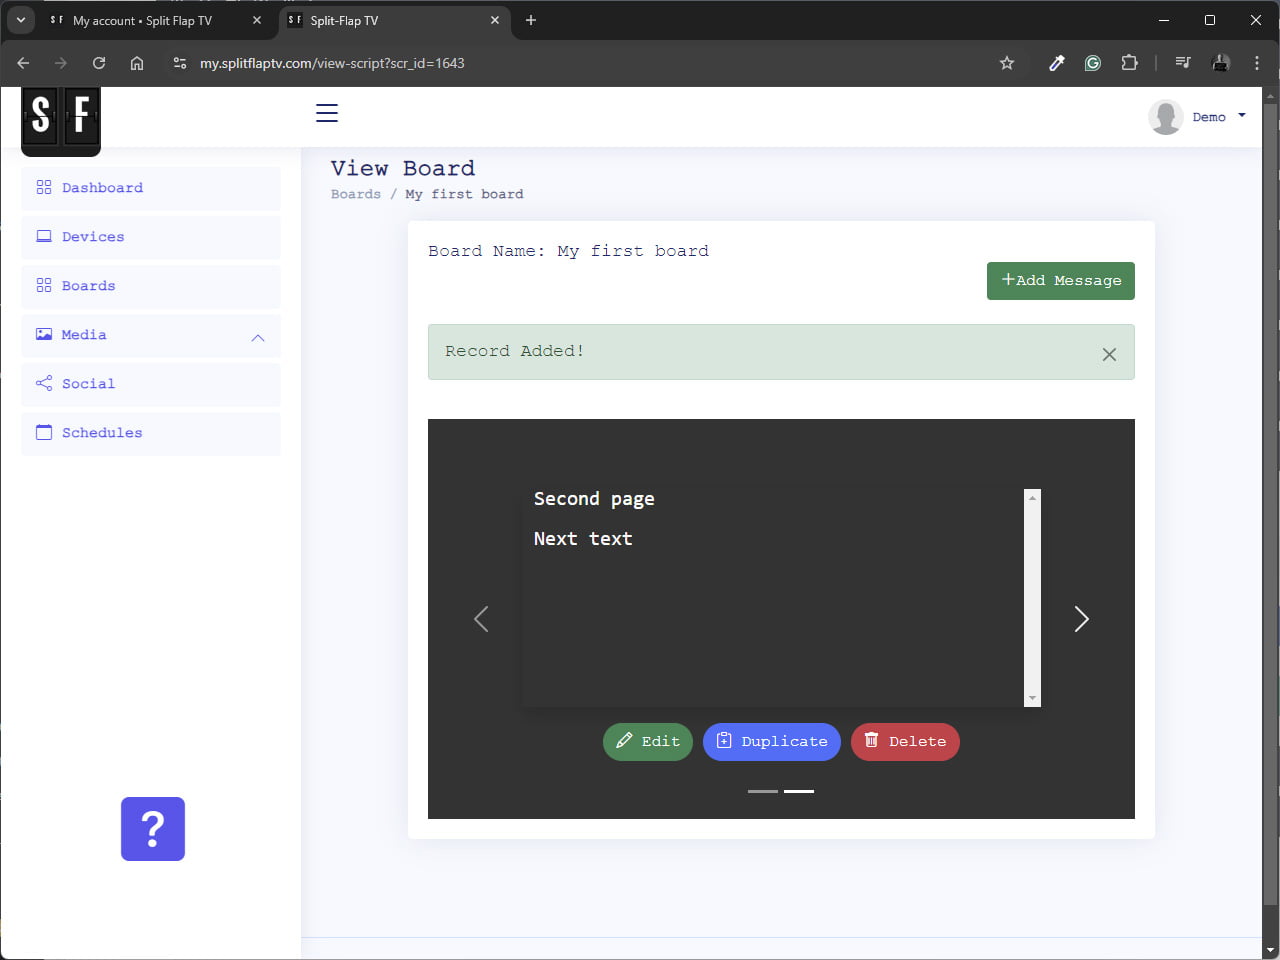
Click the Save button and you will see a preview of your text.
Click the Add Message button again to add a second message or page to your board.
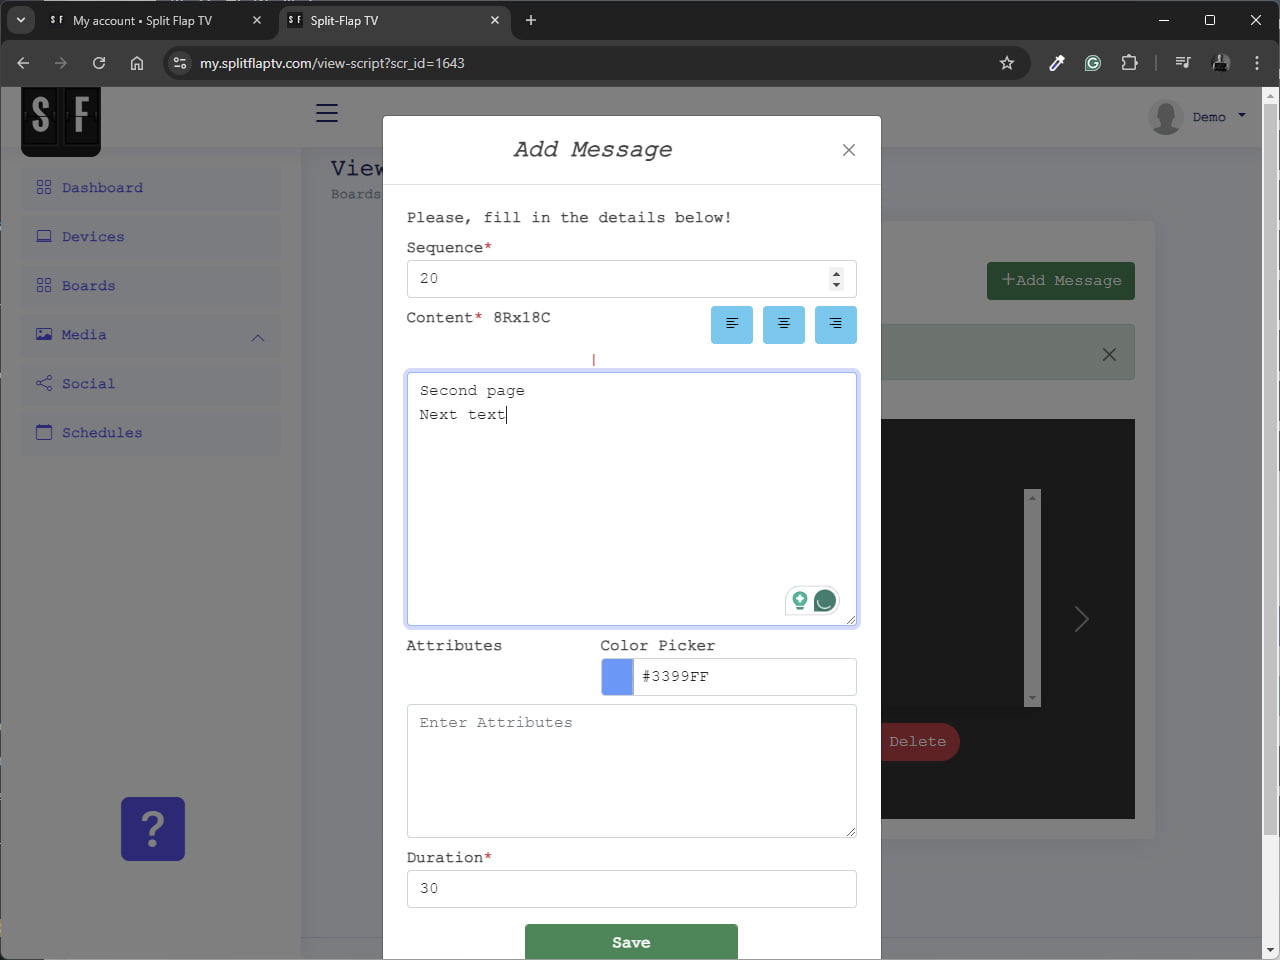
And this can be previewed here too. Your board is now ready to be sent to your display.
Schedule your board
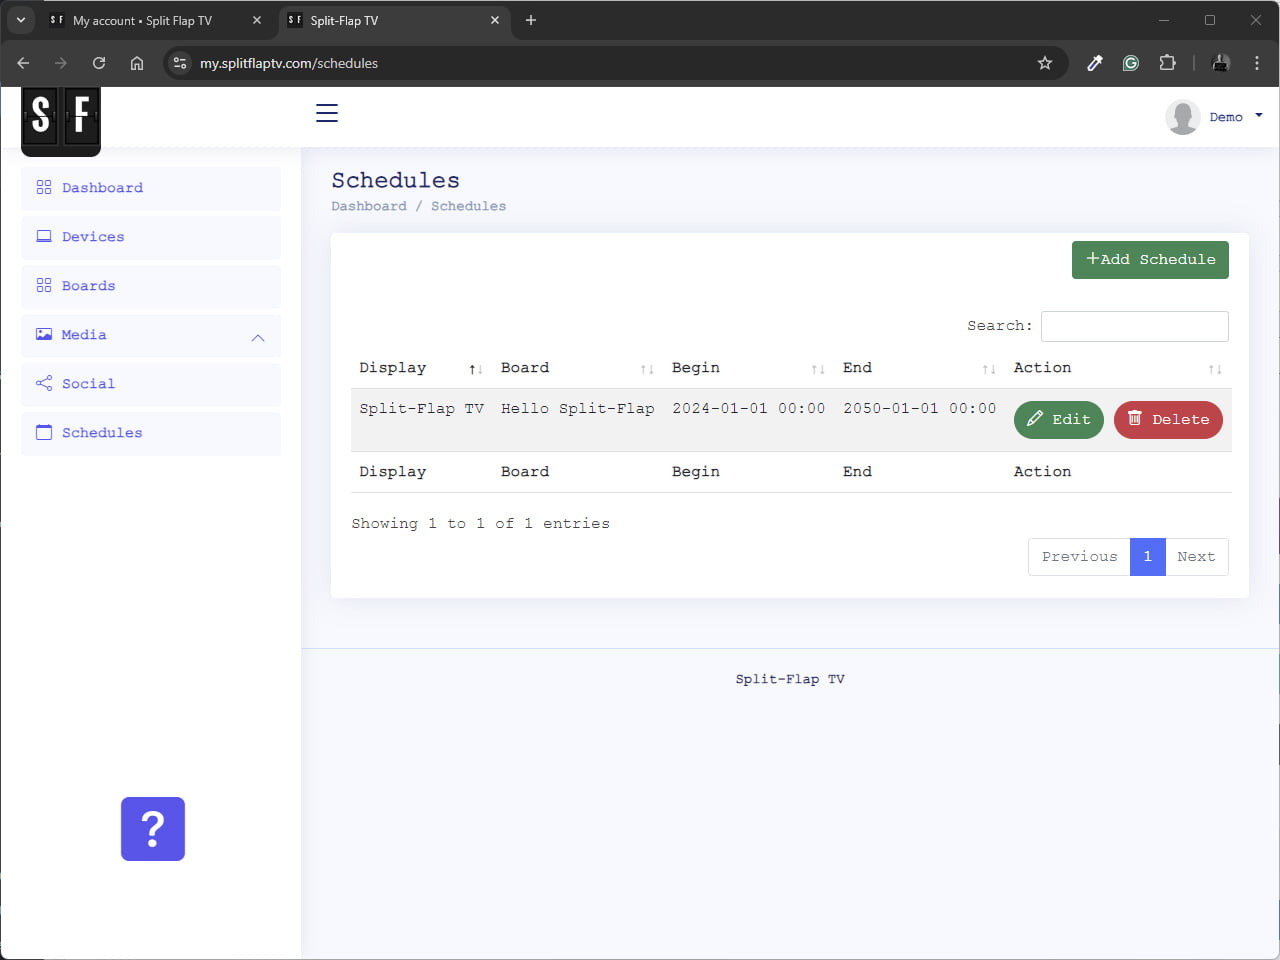
Click Schedules from the menu on the left. This will show which messages are scheduled to be displayed on your devices.
You can choose to add new schedules, or you can edit existing schedule. When you create a new schedule, be sure to end the currently running schedule of that board. Only one schedule or board assignment will be taken into account. Multiple boards on the same display are not merged since the characteristics can be completely different.
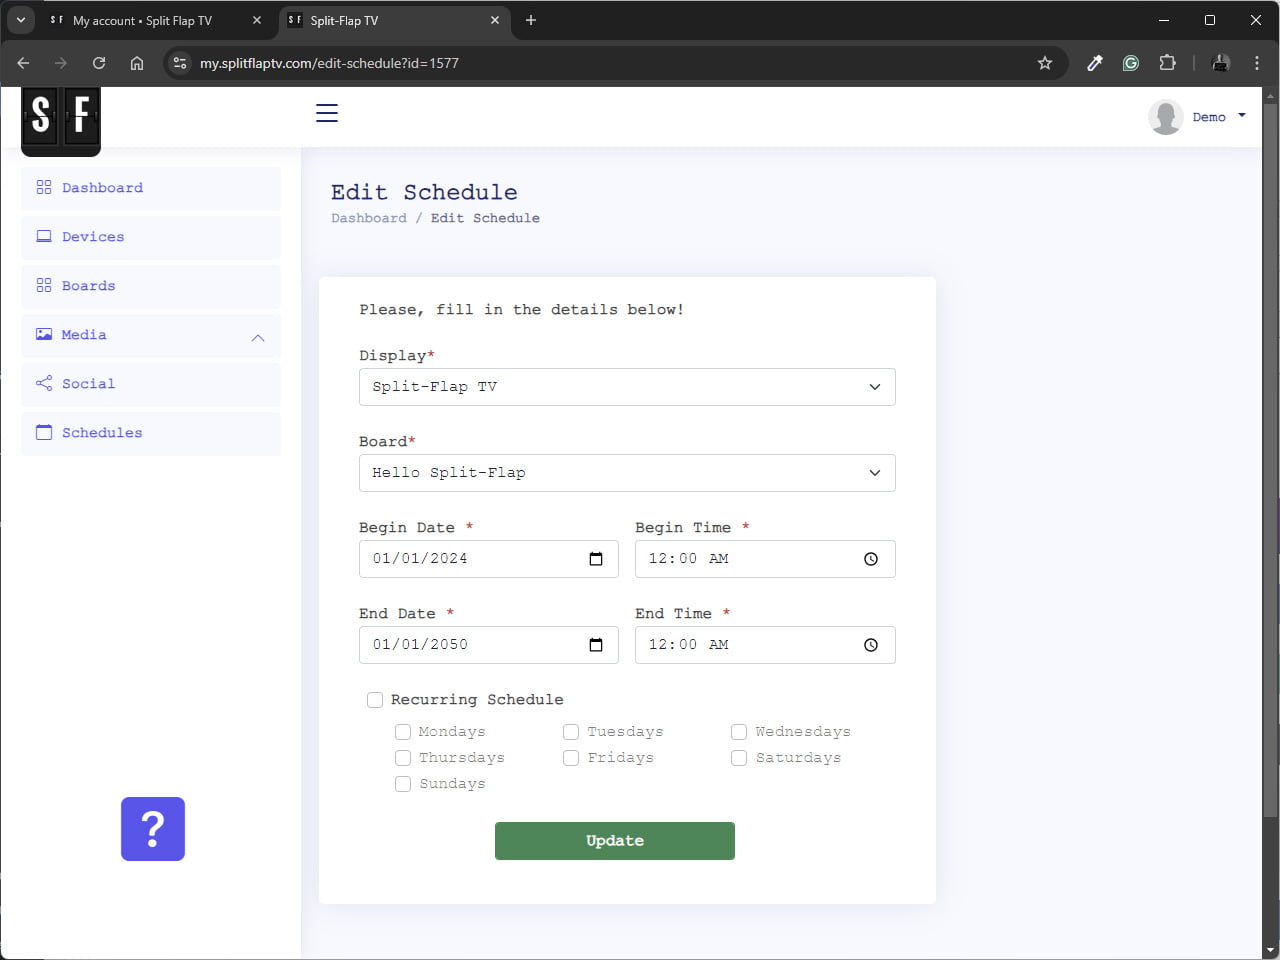
At the board listbox, you can choose which board that you want to schedule.
For the schedule or period, you can choose to have a non-recurring event, or a recurring event.
When you choose non-recurring, then your board will be scheduled between the begin date and begin time, till the end date combined with the end time.
When you choose recurring, then you can check the days of the week when you want to show the board. And the period assignment is a bit different. The board will be shown on all days of the checked days, between the begin date and end date, and then only between the begin time and end time.
Click the Update button to commit your changes. If you changed the schedule or board for the current time, then give it a few seconds and the new
That’s it!
Your first message board is now clicking on your television. You can do much more with Split-Flap TV. You can flap images instead of texts, you can show real-time news as it is published, show local or worldwide weather information, and more.
Explore more features in our documentation section.

